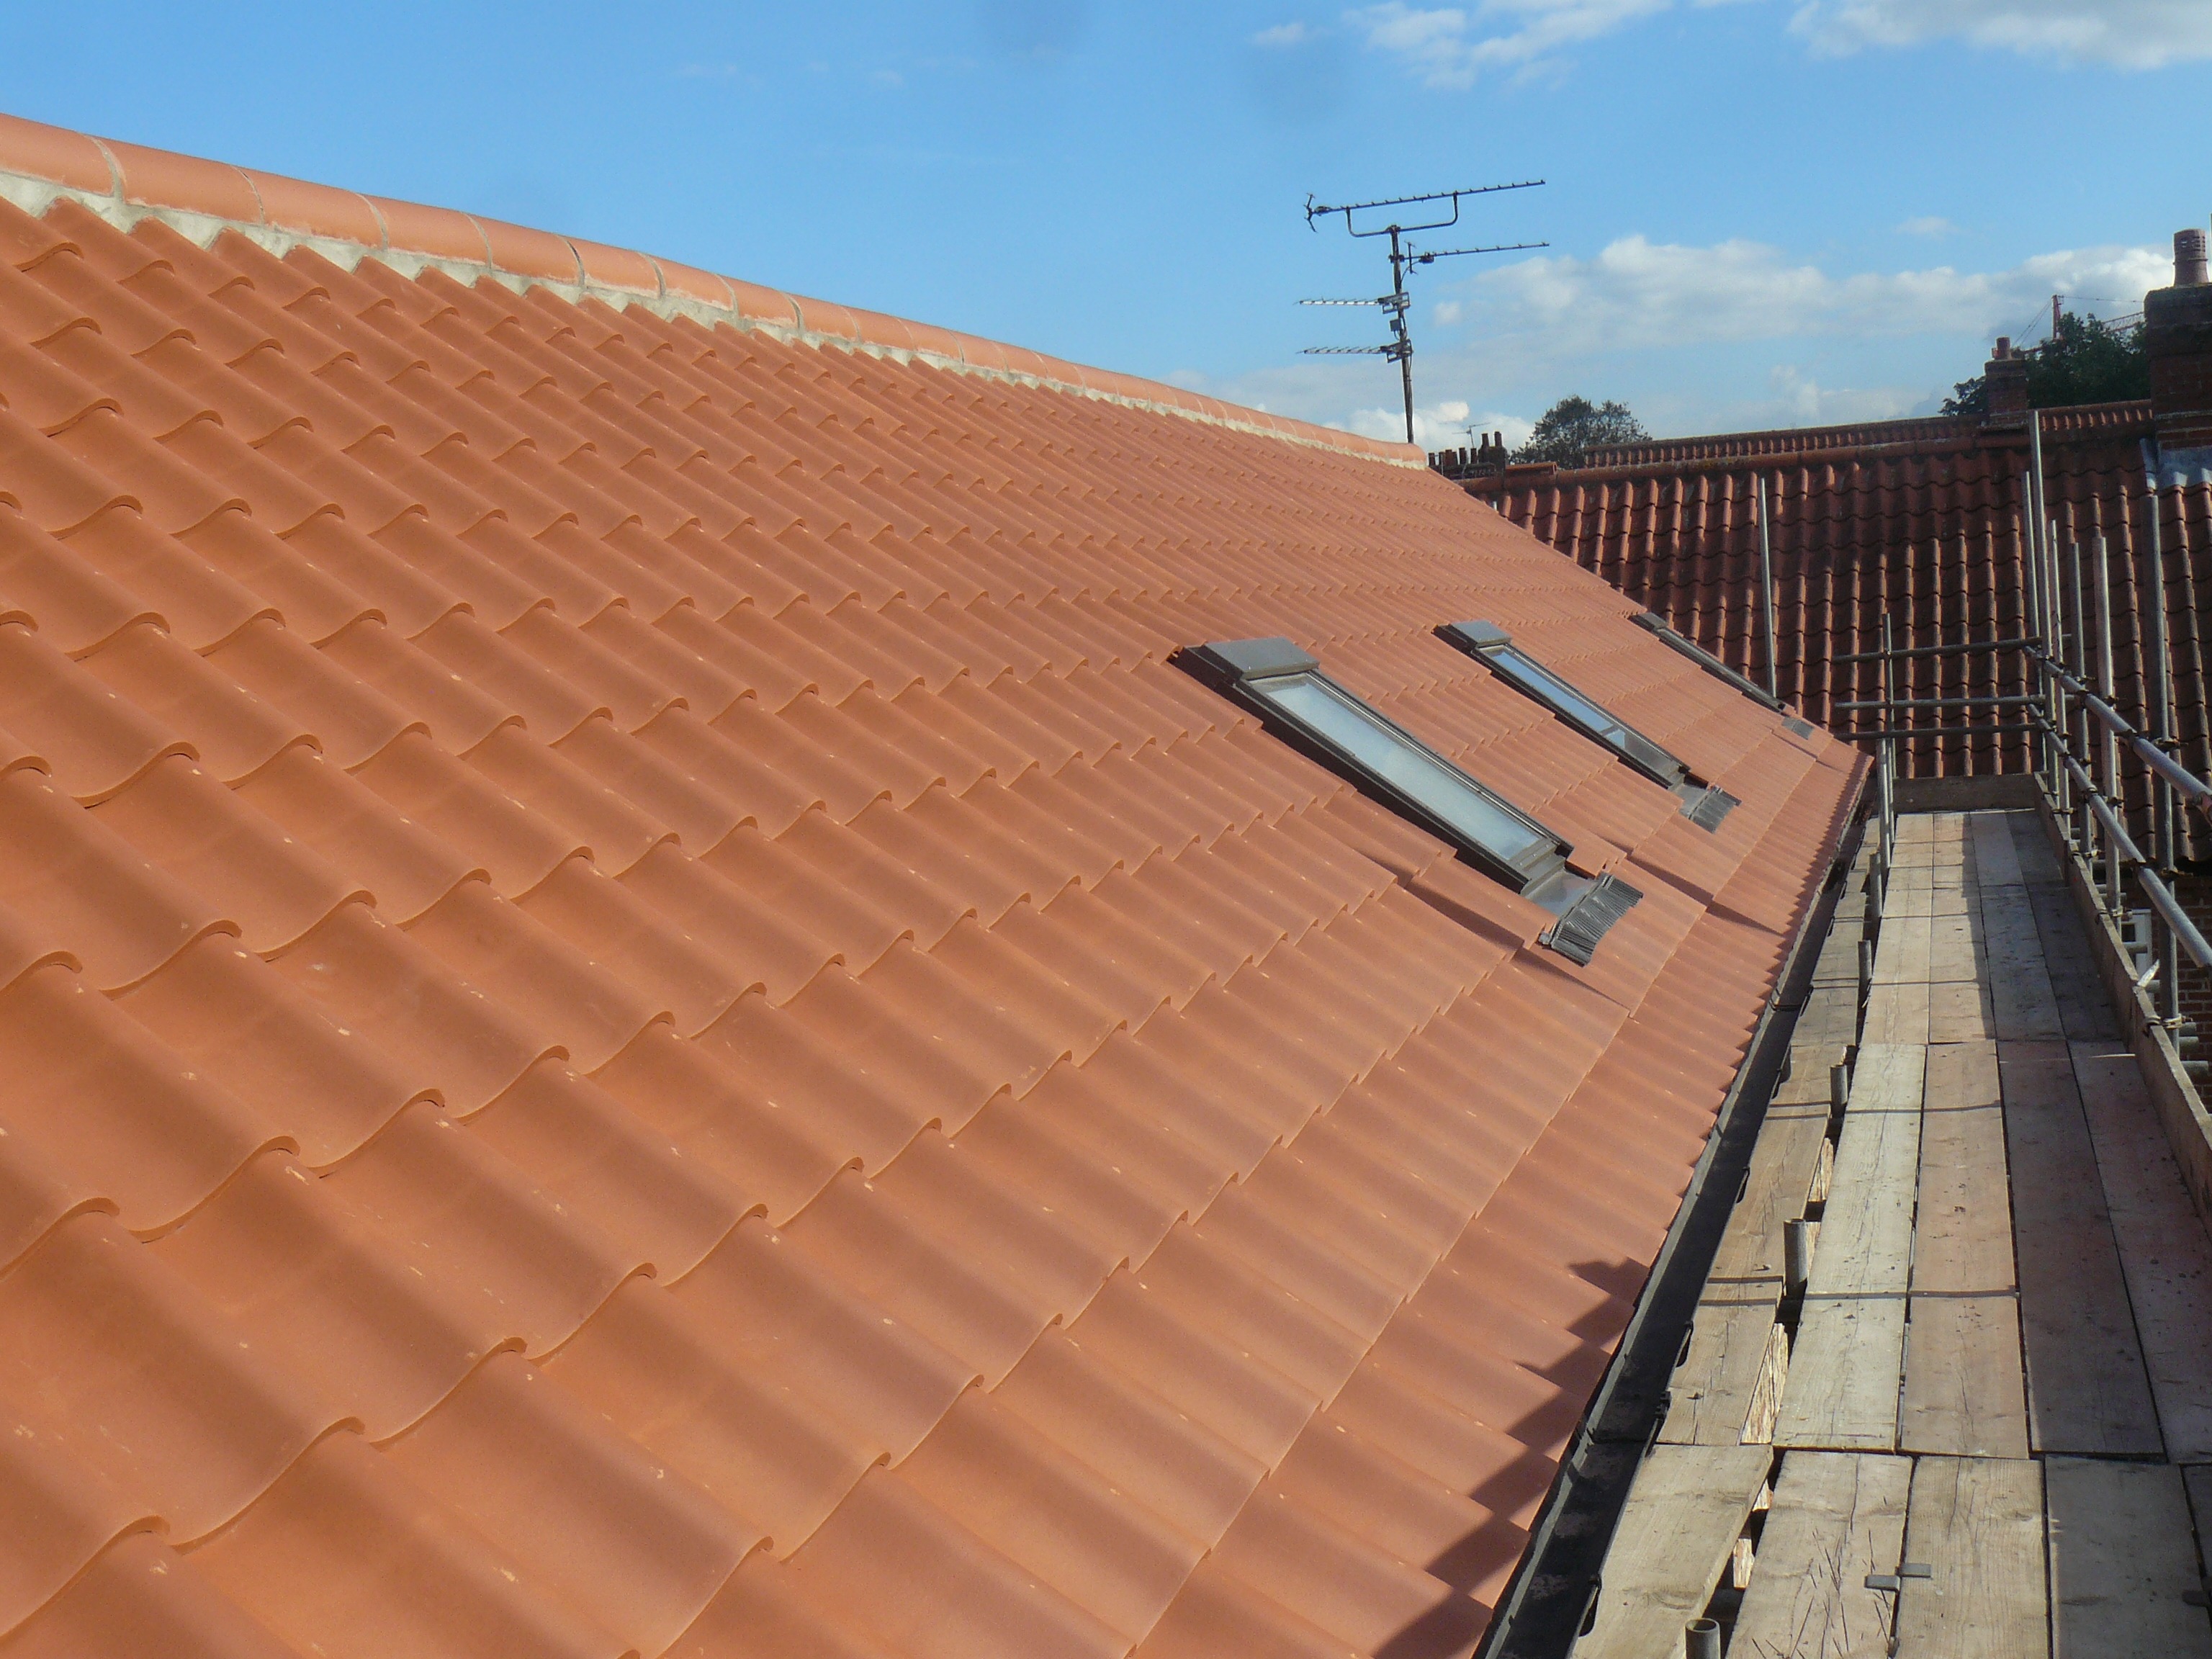
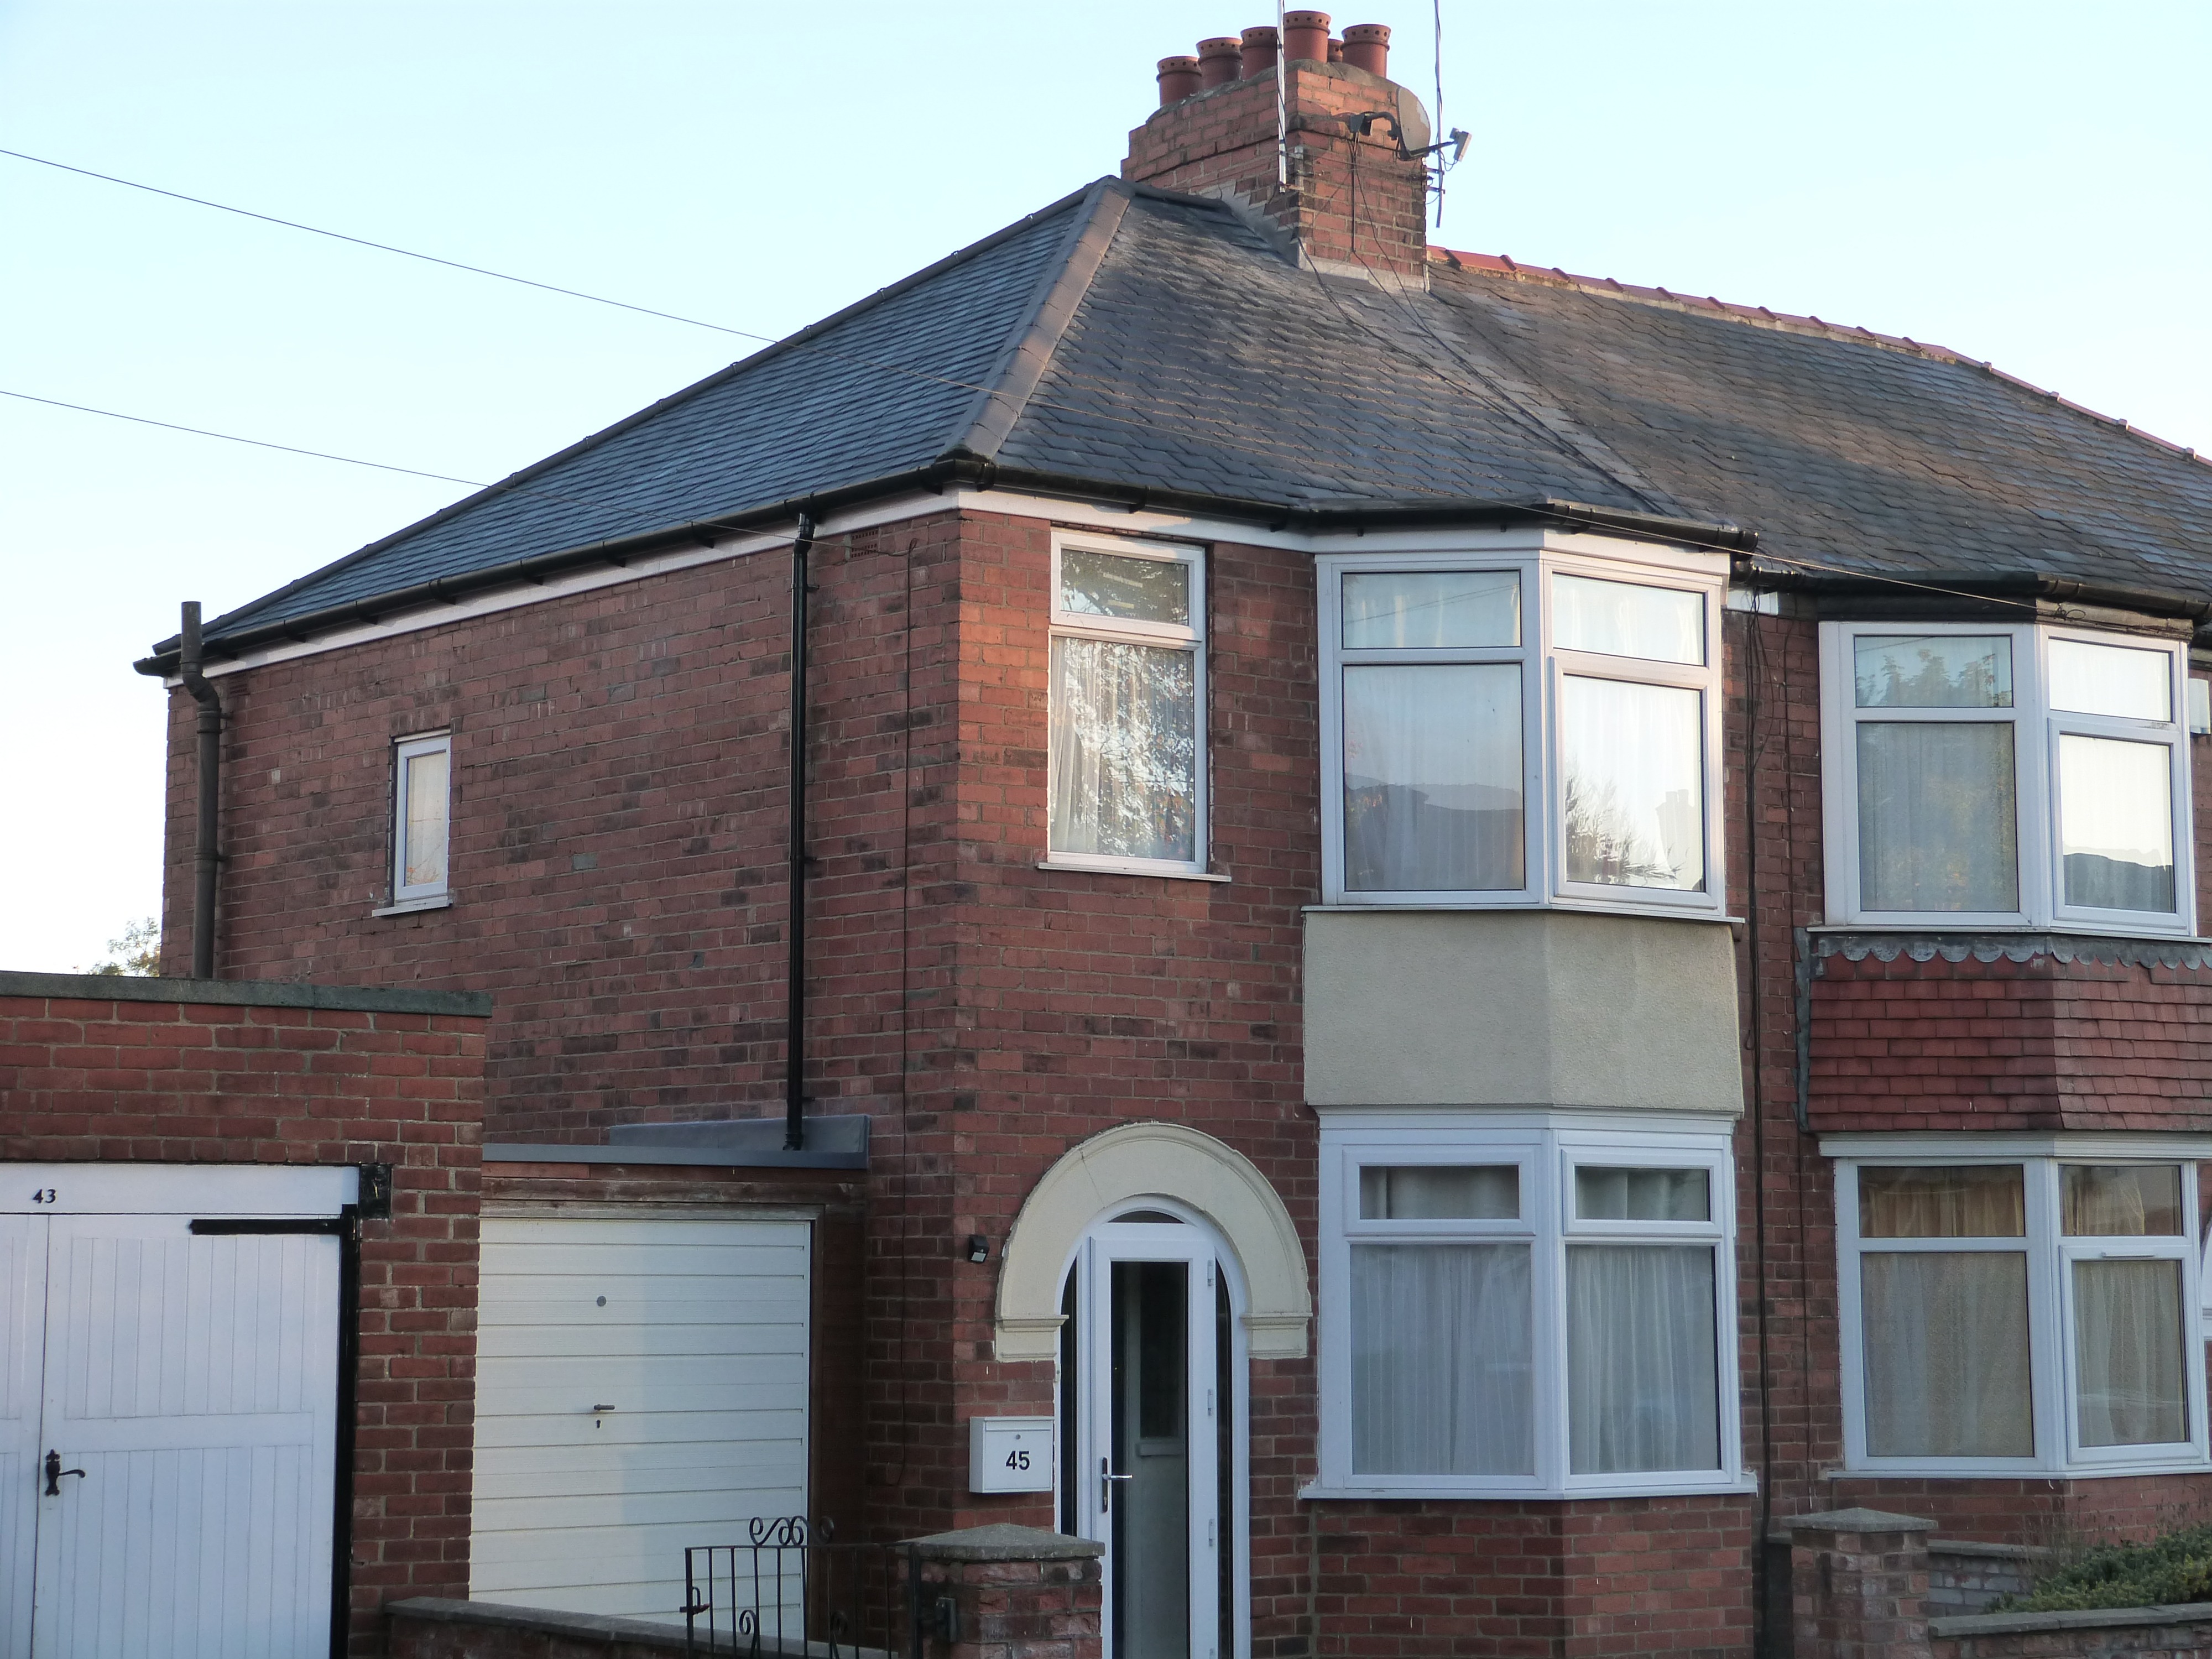
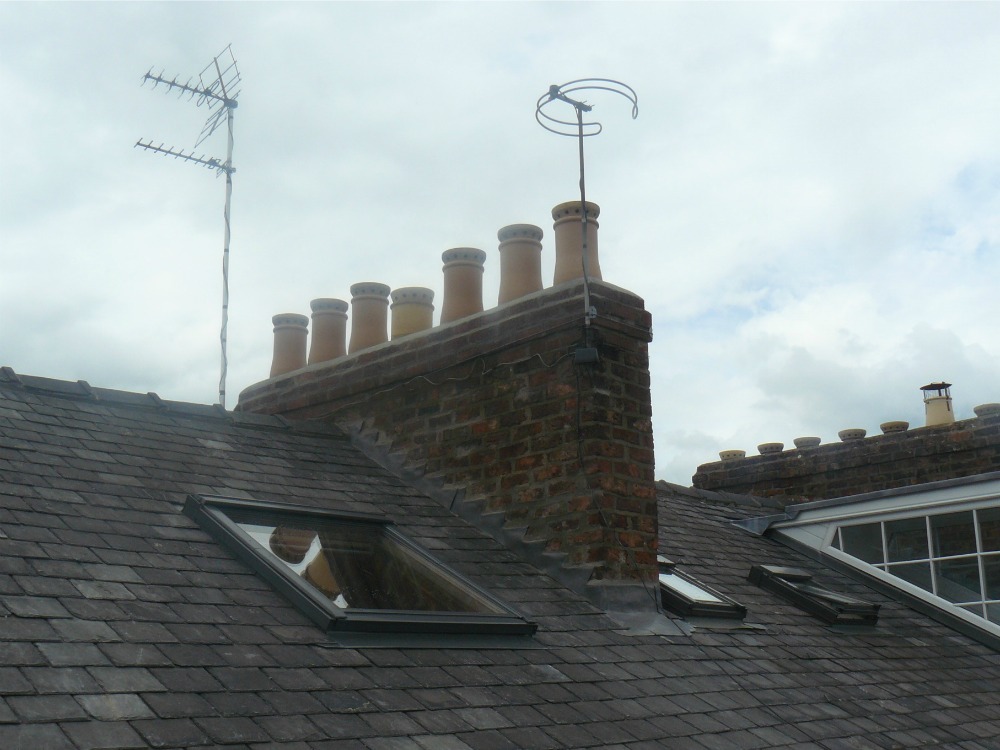
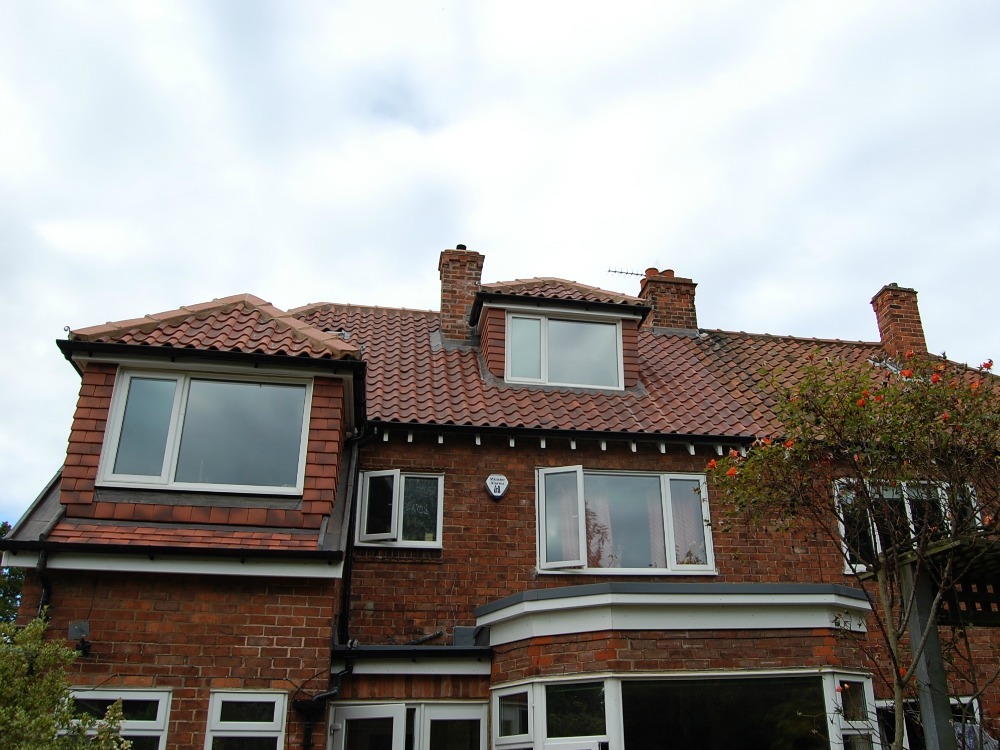
A changing climate means that the provision of insulation to reduce heat loss and mitigate heat gain is more important that ever.
With colder winter temperatures set to establish themselves across the UK, and examples of extreme heat for prolonged periods becoming a reality, specifiers as contractors like GNR have a responsibility to advise clients on how to improve the efficiency of their homes now, and for the future.
There is no better opportunity to do this that when you are replacing your roof coverings, but loft and roof insulation are only a small part of what can be done to improve the functionality of our built environment to better cope with extreme weather events.
Further, these extremes are not limited to heat and cold, precipitation and the volume of rainfall over short periods must also be carefully considered.
Book a survey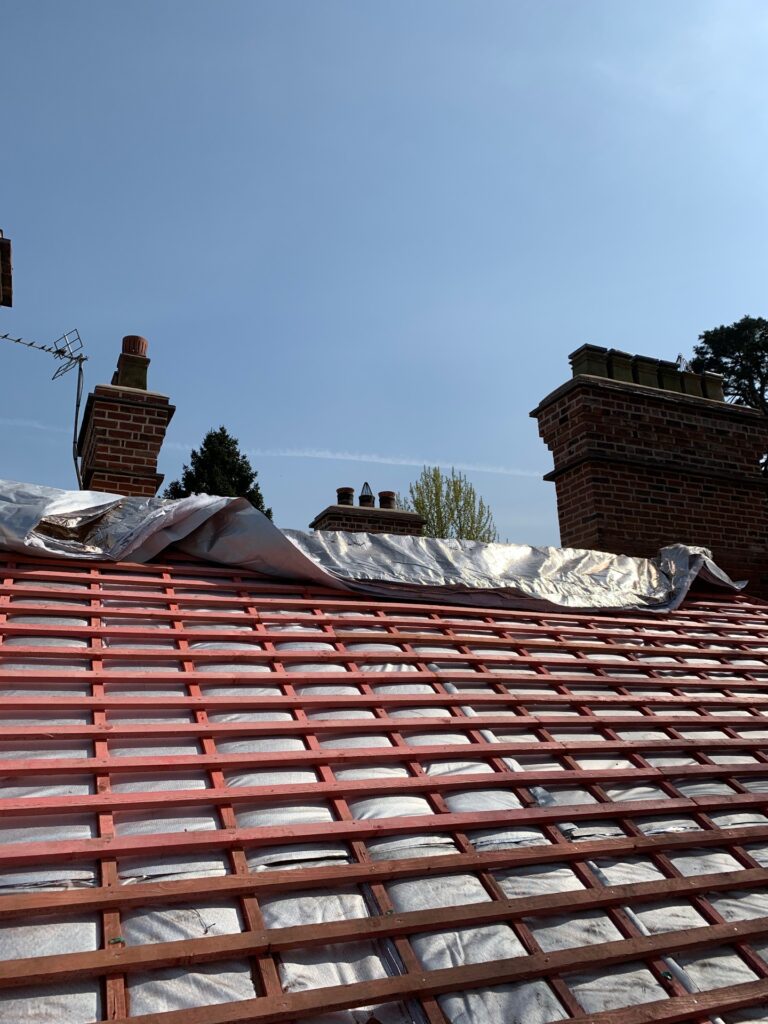
If you’re planning a re-roofing project, it’s the perfect opportunity to improve your home’s energy efficiency and year-round comfort. A key factor is upgrading the roof insulation. Properly chosen and installed insulation will keep your home cool in summer heat waves and cozy during winter chills.
In addition to enhancing comfort, good insulation significantly reduces energy consumption – meaning lower heating bills in winter and less need for fans or AC in the summer.
ON this page, we’ll explore how roof insulation works to stabilise your home’s temperature, why it’s crucial to get it right during a re-roof, and what regulations you need to know. We’ll also explain how GNR Roofing Services makes the process easy and compliant, including self-certifying work to meet Building Regulations.
Think of insulation as a thermal barrier in your roof. It slows down the transfer of heat, helping maintain a comfortable indoor climate regardless of the season.
In winter, insulation traps rising heat indoors, preventing it from escaping through the roof. In summer, insulation acts in reverse – blocking the intense heat from the sun and keeping the hot air out of your living spaces.
The result is a home that stays cooler inside when it’s scorching outside, and stays warmer when it’s freezing outdoors. In fact, a well-insulated loft or roof dramatically cuts down the heat that infiltrates in summer, so the rooms below remain cooler without over-reliance on air conditioning.
Illustration: Properly installed roof insulation keeps the interior cool in summer (left) by blocking solar heat, and warm in winter (right) by retaining indoor warmth. A well-insulated roof creates a “comfort zone” inside your home, reducing heat gain in hot weather and heat loss in cold weather.
To get these benefits, it’s important to choose the right insulation product and install it correctly. There are various insulation materials available – from flexible mineral wool rolls to rigid foam boards – and each works best in certain applications.
For example, many homes use thick layers of mineral wool laid on the loft floor (between and across ceiling joists) to insulate a pitched roof. Another approach is fixing insulation boards under or over the roof rafters (a “warm roof” construction) to insulate at the roofline.
The insulation must cover the entire roof area uniformly; even small gaps or thin spots can leak heat and undermine performance. Likewise, compressing or squashing insulation (for instance, by storing boxes directly on loft insulation) can reduce its effectiveness.
By hiring experienced professionals or following best practices, you ensure the insulation is installed to the correct depth and density, with no voids or air leaks. Proper installation is key – when done right, loft insulation can pay for itself many times over its lifespan through energy savings,
A well-insulated roof offers multiple benefits for homeowners. First and foremost is improved comfort: rooms stay cooler in summer and warmer in winter, with fewer drafts and hot spots.
This temperature stability means you won’t dread the top floor in August or bundle up in extra sweaters indoors in January. Secondly, insulation cuts down on energy usage.
By preventing unwanted heat loss and gain, your heating and cooling systems don’t have to work as hard to maintain a comfortable temperature. In winter for example, your wood burner or heating system will run less often since less warmth escapes through the roof. In summer, if you have air conditioning (or even just fans and ventilation), good insulation keeps the heat out so effectively that you’ll feel cooler with much less effort – potentially avoiding the need to run an air conditioning, which can be expensive.
This translates to lower energy bills throughout the year. You’ll also reduce your carbon footprint by consuming less energy for climate control. In short, insulation is an investment that pays off in both comfort and cost savings, season after season.
Another benefit is noise reduction: adding insulation can muffle external sounds (like rain on the roof or airborne noise), making your home quieter. And because your home stays at more even temperatures, you’ll experience less thermal stress on building materials and a generally healthier indoor environment (less risk of condensation or damp in a well-ventilated, insulated loft).
All these advantages come from the simple concept of a thermal barrier over your head – proof that insulation is just as important for keeping your home cool in summer as it is for warmth in winter.
When re-roofing or insulating your home, a warm roof build-up is one of the most effective ways to improve energy efficiency and comfort. At GNR Roofing Services, we often recommend this method because it provides excellent insulation performance while protecting the roof structure from condensation risk.
In a warm roof system:
The insulation is placed above the roof rafters, rather than between or below them.
A continuous insulation layer is installed, reducing thermal bridging (heat loss through timbers).
The roof structure (rafters, deck, etc.) stays warm because it’s inside the insulated envelope.
This approach helps prevent condensation in the roof timbers, as they stay at a similar temperature to the inside of your home.
✅ Excellent thermal performance (helps with keeping your home cool in summer and warm in winter)
✅ Reduces condensation risk by keeping roof timbers warm
✅ Minimises cold bridging
✅ Ideal for conversions where the roof space is used as living accommodation
✅ Can be combined with natural, breathable insulation (e.g. wood fibre boards for heritage projects)
We design and install warm roofs that meet Building Regulations, suit your home’s style, and maximise comfort. As members of the NFRC Competent Person Scheme, we can self-certify that your new warm roof complies with current standards — no extra hassle, no delays.
A cold roof is a traditional method of roof insulation, commonly used in lofts and attic spaces that are not intended for living. At GNR Roofing Services, we often recommend this approach for homes where the loft is unoccupied and only used for storage.
In a cold roof setup:
The insulation is placed at ceiling level, between and over the ceiling joists.
The roof space above the insulation remains cold (unheated), hence the name “cold roof.”
Adequate ventilation is essential to prevent condensation in the loft space.
✅ Simple and cost-effective
✅ Ideal for unoccupied lofts
✅ Straightforward to upgrade existing insulation
✅ Complies with Building Regulations when installed to required depth (typically 270mm)
We ensure your cold roof insulation is properly installed, ventilated, and compliant with Building Regulations. As NFRC Competent Person Scheme members, GNR Roofing Services can self-certify insulation upgrades, saving you time and paperwork.
Condensation is one of the biggest threats to the health of your roof. Left unchecked, it can lead to mould growth, damp insulation, rot in timber, and costly damage over time. Whether you’re upgrading your roof with a warm roof or a cold roof build-up, managing moisture and ventilation is essential.
At GNR Roofing Services, we ensure every roof installation is designed not only for comfort and energy efficiency, but also to prevent condensation and protect your home long-term.
Condensation forms when warm, moist air from inside your home meets a cold surface, such as the underside of your roof or loft timbers. In a poorly ventilated or poorly insulated roof space, this moisture has nowhere to go – and it turns into water droplets on cold surfaces.
Bathrooms, kitchens, and even just breathing and daily living release moisture into your home. If your roof isn’t designed to manage this moisture, problems will quickly follow.
A warm roof places insulation above the rafters, so the entire roof structure stays within the warm, dry envelope of the house. This greatly reduces the risk of condensation – but only if built correctly.
GNR Roofing Services installs warm roofs using breathable systems and high-performance insulation, ensuring long-lasting protection against condensation.
In a cold roof, insulation is placed at ceiling level, leaving the roof space above it cold. That makes the loft particularly vulnerable to condensation if moist air rises into it without proper ventilation.
GNR ensures that every cold roof install includes proper ventilation and insulation depth, complying with Building Regulations and keeping your roof dry and protected.
At GNR Roofing Services, we build every roof with condensation control in mind. Whether you’re upgrading to a warm roof or improving an existing cold roof, we assess the whole system — insulation, ventilation, vapour barriers — to ensure your home stays dry, healthy, and energy efficient.
And as accredited members of the NFRC Competent Person Scheme, we can self-certify your roof for Building Regulations — giving you peace of mind that everything is done right, without the red tape.
Did you know that refurbishing your roof may carry legal requirements for insulation? In the UK, building regulations stipulate that if you replace 25% or more of the roof covering, the project must comply with current insulation standards.
Essentially, whenever a significant portion of your roof is being renewed (for example, stripping off old tiles on more than a quarter of the roof area), the law considers it a thermal renovation. You are then obliged to upgrade the roof’s insulation to meet modern energy efficiency requirements. Building Control authorities (or approved inspectors) will need to verify that the upgraded roof achieves the required insulation performance.
What does “meeting current standards” mean in practice? It involves reaching a certain thermal performance (U-value) for the roof, where reasonably practicable to do so.
Under today’s regulations (Approved Document L), an existing pitched roof being renovated should achieve around a U-value of 0.16 W/m²K or better.
In practical terms, this often means installing much thicker insulation than older homes typically have. For example, current guidelines recommend about 300 mm of loft insulation (if using mineral wool) to attain the proper efficiency level. Compare this to older homes which might have only 100 mm or 150 mm of insulation – clearly a top-up is needed.
So if your re-roofing involves substantial areas, part of the project will be adding insulation or replacing it so that the finished roof meets these insulation thickness/U-value targets. Not only will this bring your home up to standard, it also ensures you reap the full comfort and energy-saving benefits of your new roof.
It’s important to plan for this in your project because compliance is not optional – it’s a legal requirement. Failing to upgrade the insulation during a qualifying re-roof could lead to problems: you might face a building control enforcement notice, and you’ll likely have issues later when selling the house (since documentation of Building Regulations compliance will be required).
The good news is that a professional roofing contractor will know about these rules. At GNR Roofing Services, we make sure that every re-roofing job hitting the 25% threshold includes an insulation upgrade to current standards, so you can be confident your new roof is both compliant and high-performing.
We typically assess your existing insulation, then recommend additional layers or new insulation products to reach the required level of thermal efficiency. For instance, if your loft has old 100 mm insulation, we might lay new rolls of mineral wool to bring it up to ~370 mm, or use high-performance insulation boards if space is limited – whatever achieves the standard best for your roof design.
Thick mineral wool insulation installed between attic joists. Building Regulations now recommend around 300 mm of loft insulation (about 12 inches) to ensure excellent thermal performance. Proper installation with full coverage (as shown above) is crucial – it maximises energy efficiency, keeping your home cool in summer by blocking heat and warm in winter by retaining heat.
Additionally, and crucially, insulation should not touch the external membrane, as this will cause a cold bridge and result in condensation. A roll out rafter tray should be used to mitigate this.
Upgrading insulation and dealing with Building Regulations might sound complex, but GNR Roofing Services makes it easy. We are members of the National Federation of Roofing Contractors (NFRC) Competent Person Scheme, which means we are authorised to self-certify our roofing work for Building Regulations compliance.
In a nutshell, when you hire GNR for a roof refurbishment, you don’t need to separately arrange for council building inspectors to sign off the work – we handle that process for you. We will issue you an official Certificate of Compliance on completion, confirming that your new roof (and its insulation) meet the required standards. This certificate is recognised by solicitors and surveyors, so when you eventually sell your home you can demonstrate the re-roof was done properly and legally.
Being part of the NFRC’s Competent Person Scheme isn’t just a bureaucratic detail; it brings tangible benefits to you as a homeowner. Compliance is simplified for you – there’s no hassle of filing applications with the local authority or waiting for inspections.
Our team takes care of notifying Building Control and certifying the job. This saves you time, money and a lot of headache, as the scheme streamlines the approval process. It also means our work is held to high standards. NFRC-accredited contractors are vetted and audited regularly to ensure we have the skills and knowledge to meet regulations and install to quality benchmarks.
For example, we must demonstrate proficiency in improving a building’s thermal efficiency (Part L) and are periodically inspected on-site for compliance. Homeowners can have peace of mind that a Competent Person Scheme roofer like GNR will do the job right and deliver a fully compliant, insulated roof.
Moreover, using a competent roofer can minimise disruption to your project schedule. Because we can certify our own work, you avoid potential delays waiting for a local inspector to come at certain stages. The roof can be completed and signed off more swiftly.
You’ll receive the Building Regulations Compliance Certificate and typically an insurance-backed guarantee for the work as well, for added protection. GNR Roofing Services takes pride in not only improving your home’s comfort and efficiency, but also in making the whole process straightforward and stress-free for you.
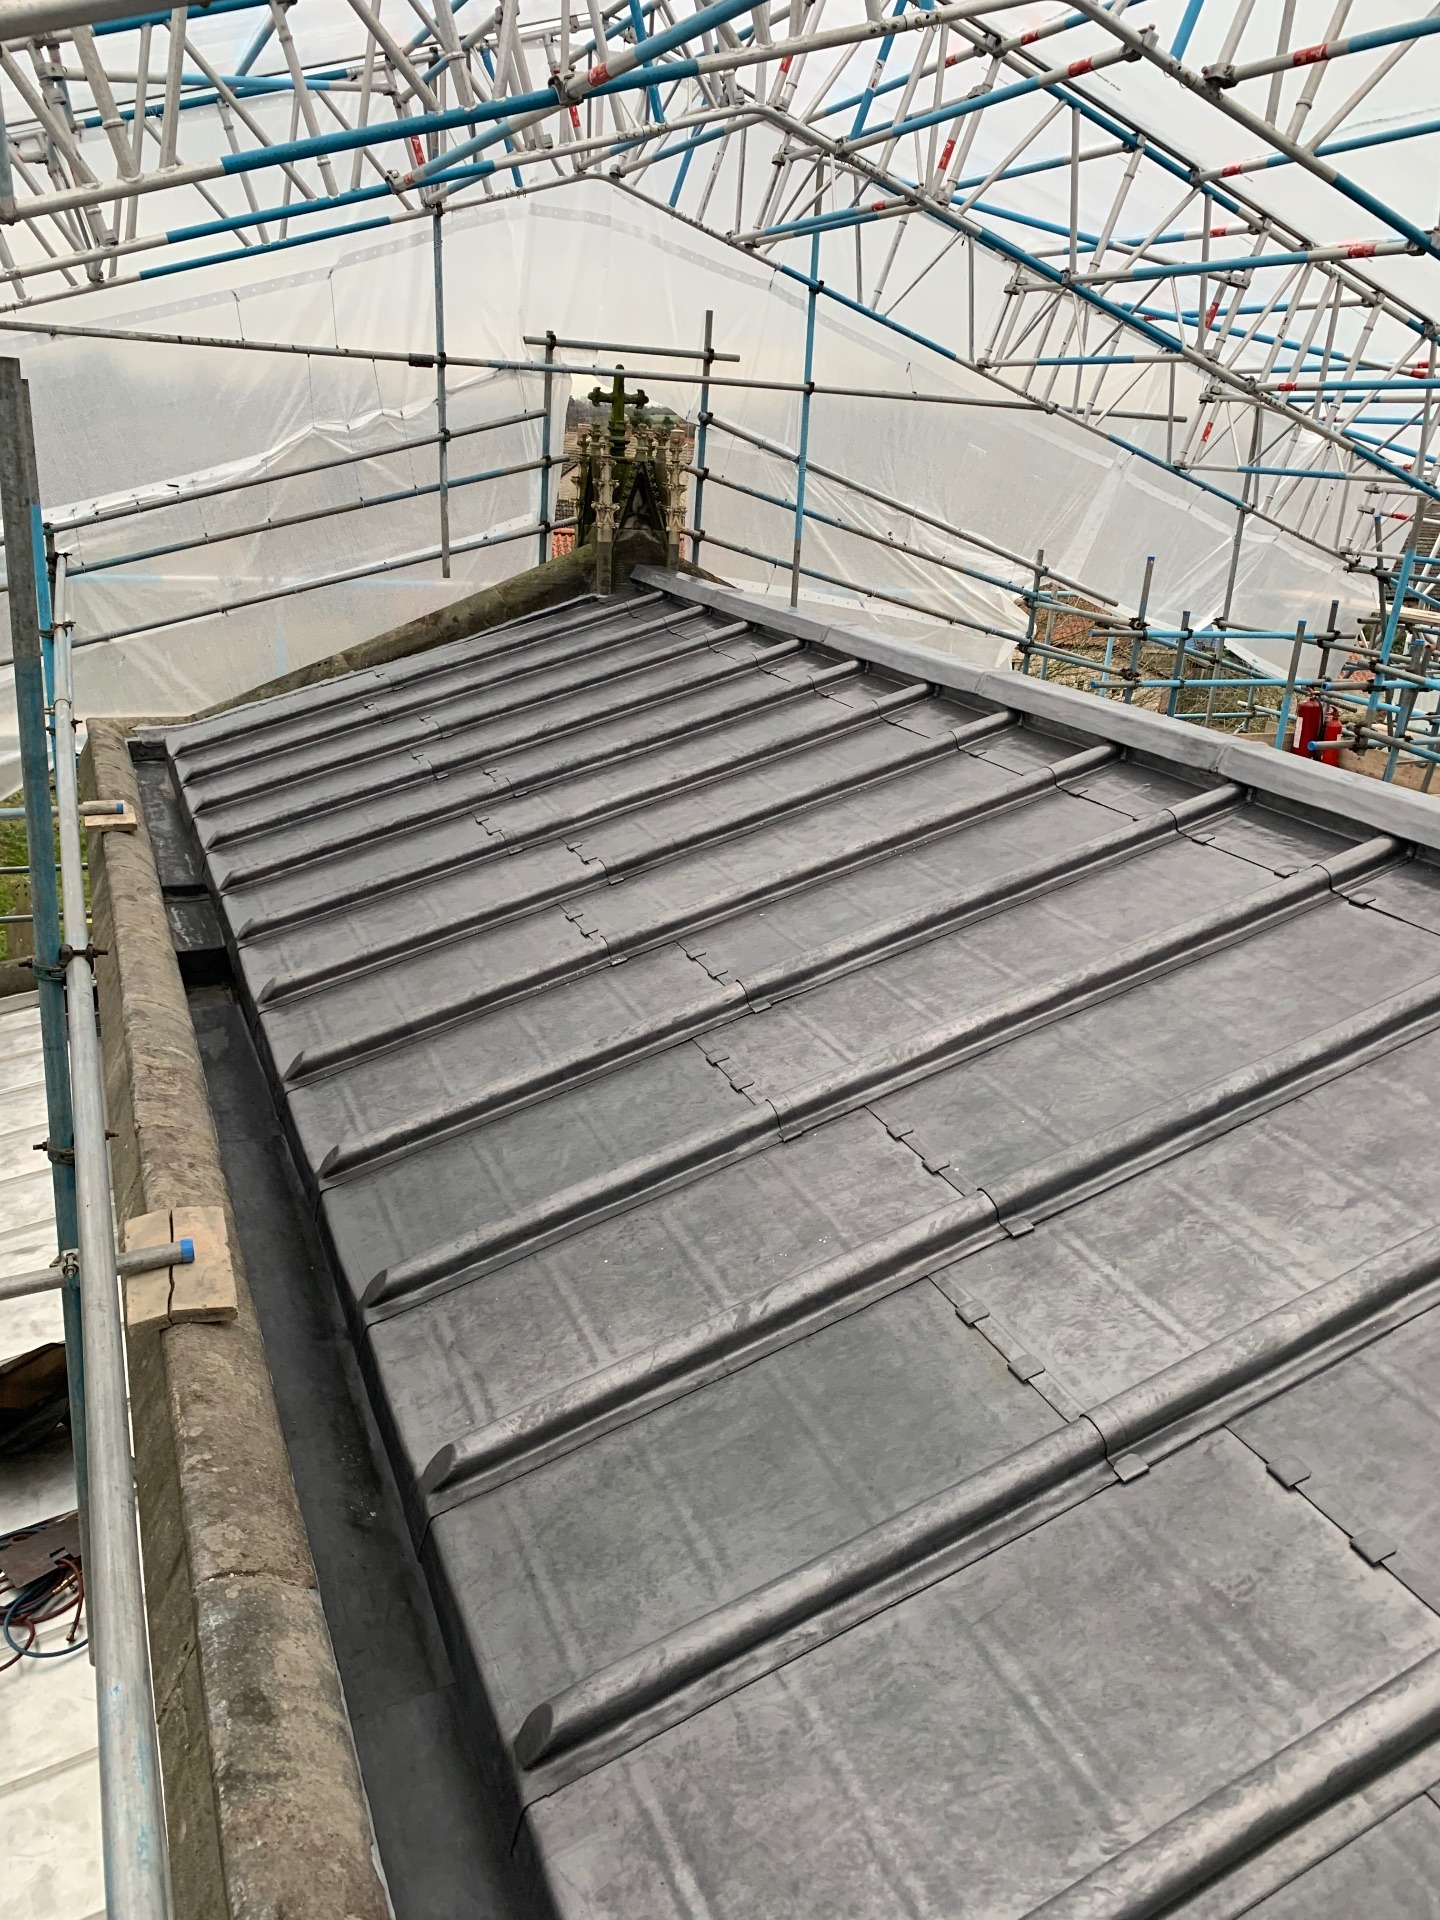
Historic and modern structures.
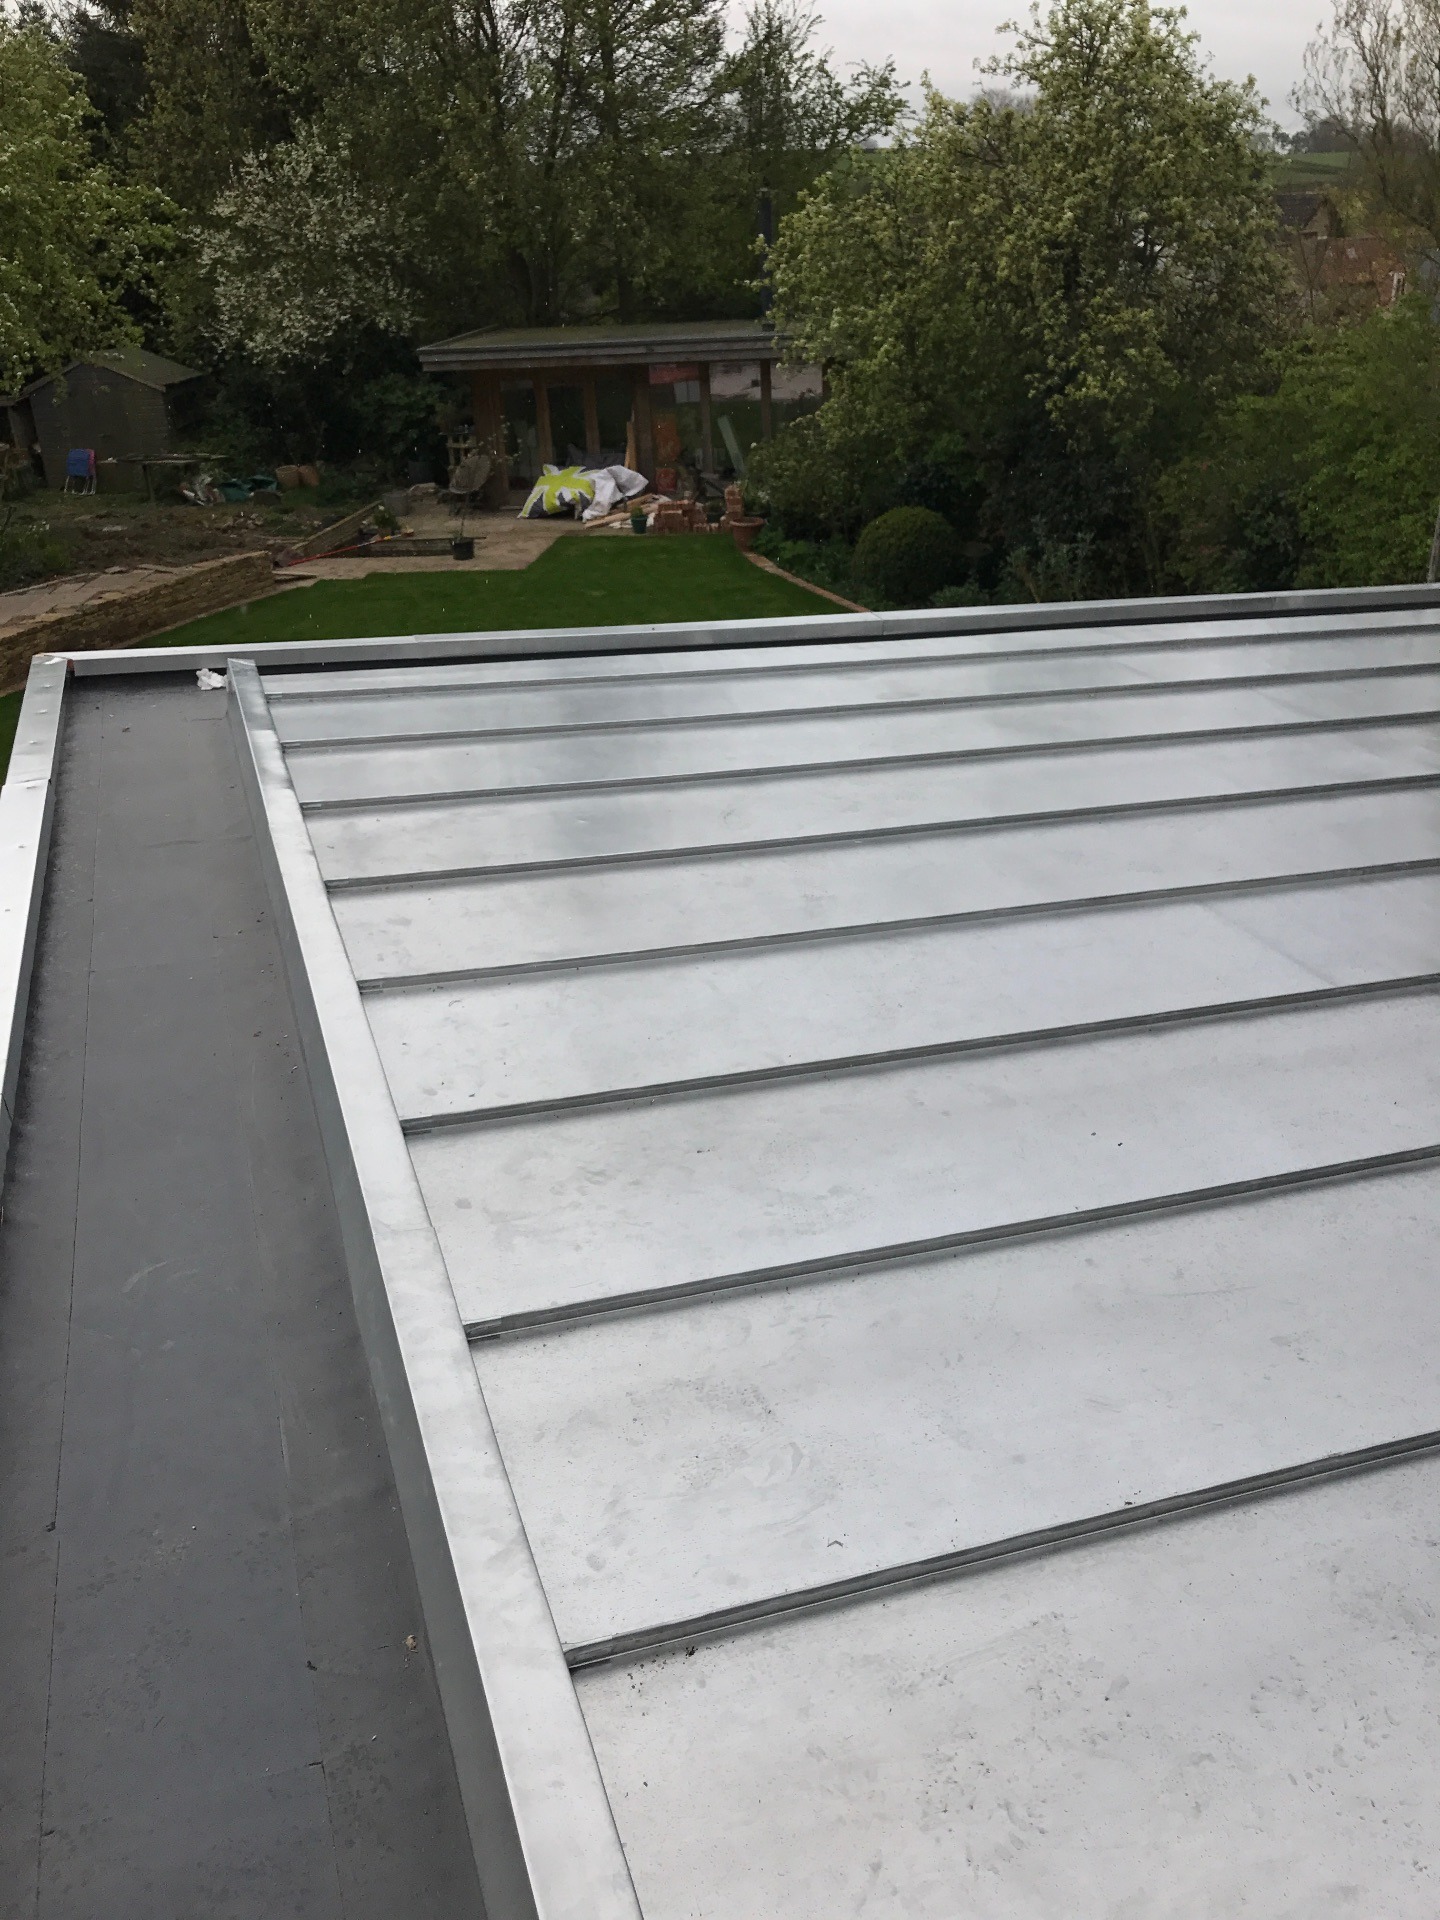
Protect against cold and heat.
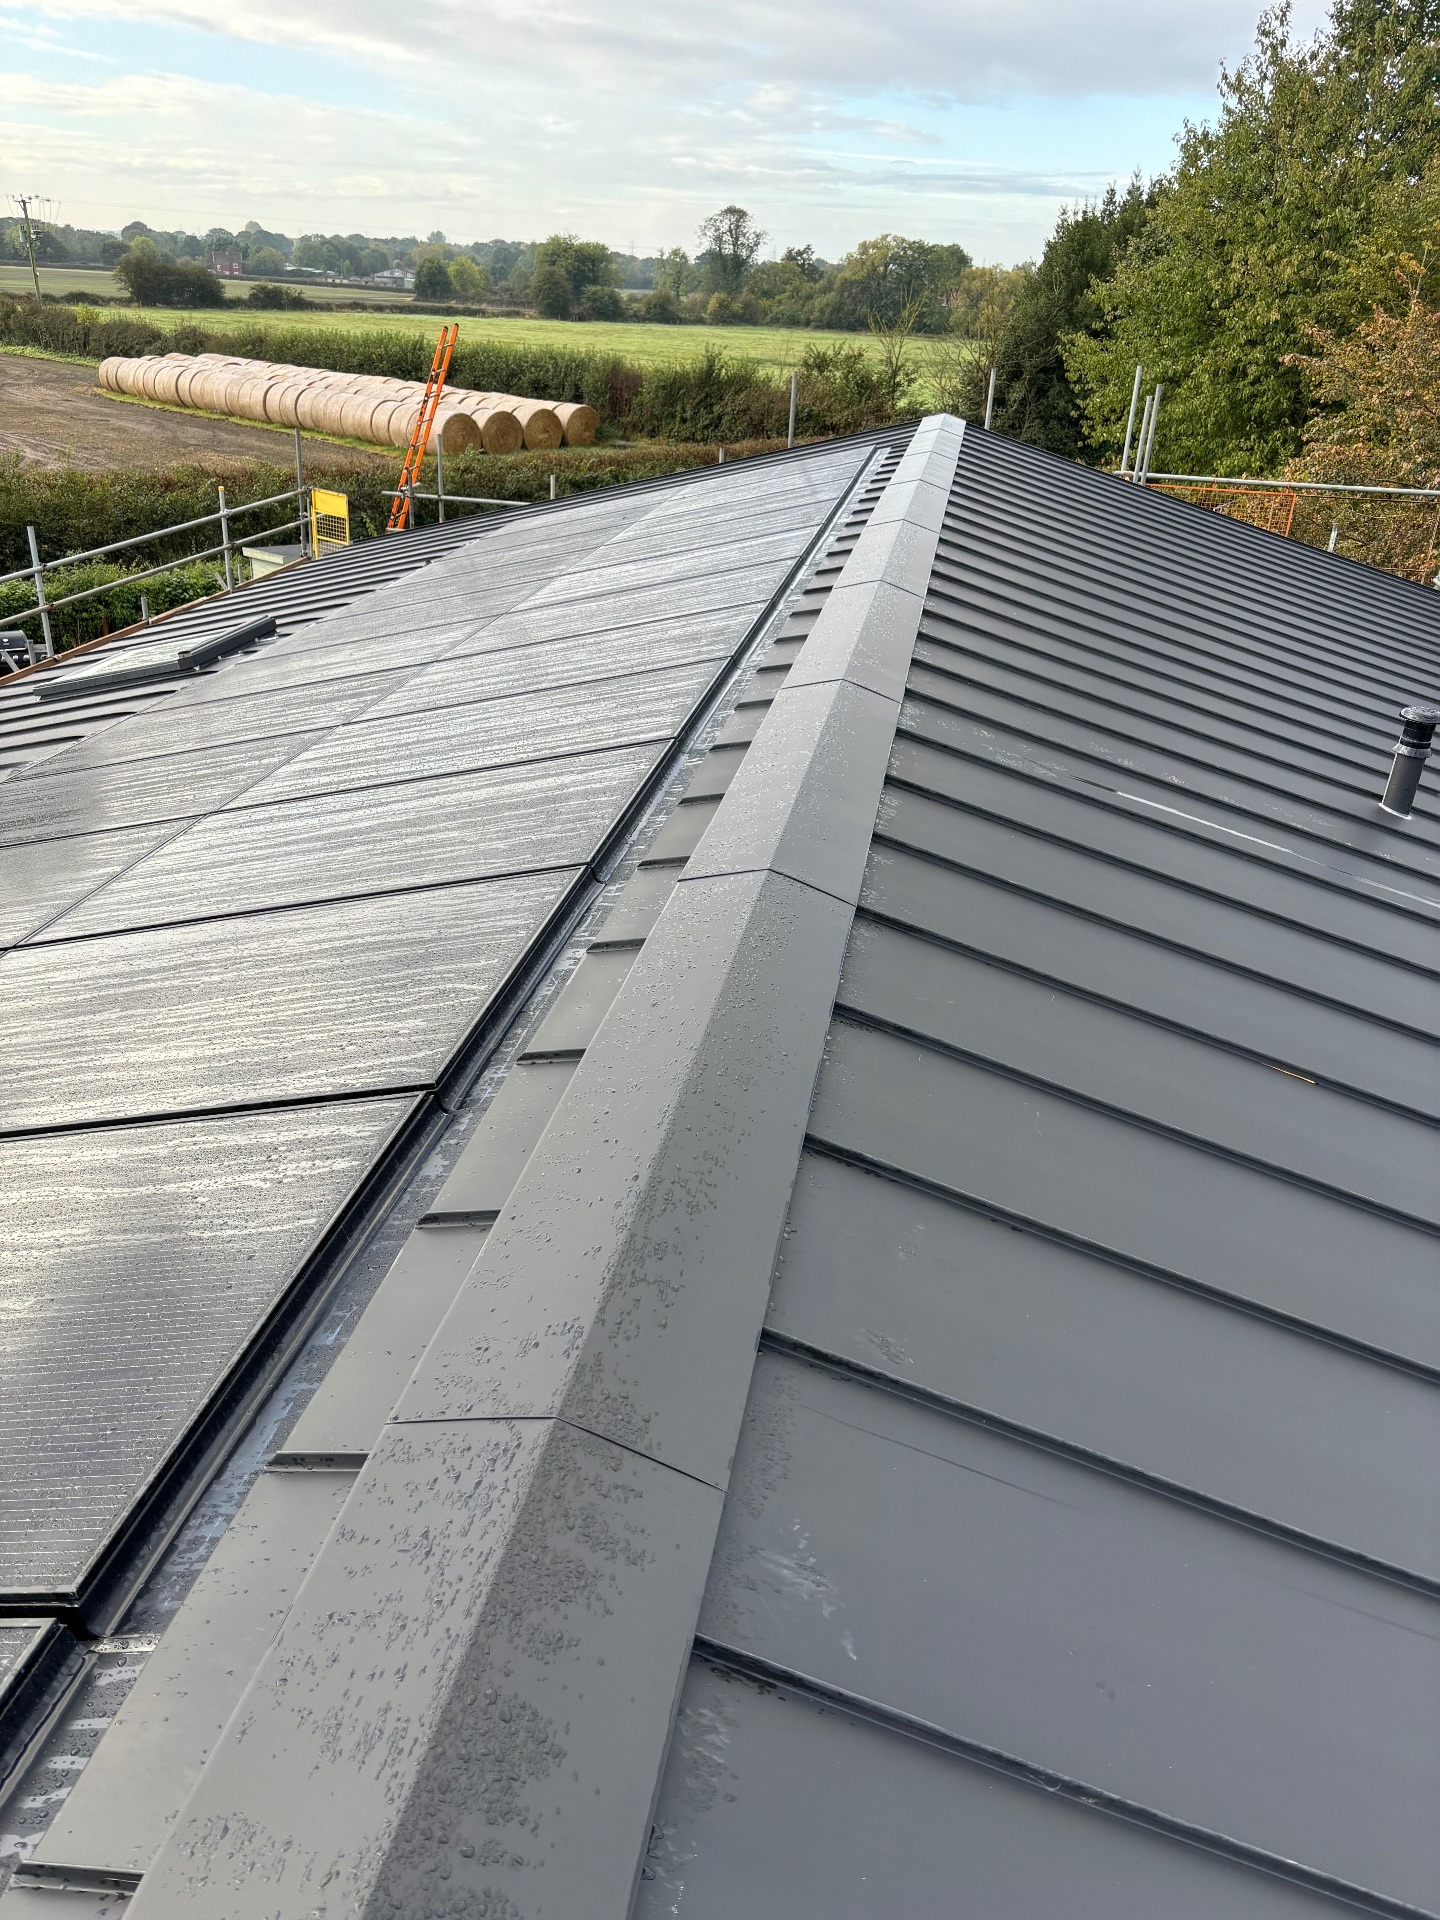
Efficient buildings for the future.
Older and historic properties are often beloved for their character – thick stone walls, timber beams, and traditional craftsmanship – but they were not built with modern insulation standards in mind. Retrofitting insulation, especially in the roof, can greatly improve energy efficiency and comfort. However, doing so in a heritage building comes with unique practical challenges. In this blog post, we’ll explore how to improve roof insulation in older or historic homes while respecting their structural limits and preserving their character. We’ll discuss why meeting modern Building Regulations targets can be tricky in traditional roofs, what compromises are allowed, and how using breathable, “sympathetic” insulation materials (like sheep’s wool or wood fibre) can maintain the building’s health. Finally, we’ll offer practical guidance for homeowners – and why professional advice is essential to balance energy efficiency, compliance, and preservation.
Modern Building Regulations set minimum thermal performance targets for roof insulation – usually expressed as a U-value (a measure of heat loss). In the UK, a pitched roof is generally expected to achieve around 0.18 W/m²K U-value when upgraded. (For context, the lower the U-value, the better the insulation.) Reaching this level usually means adding a substantial thickness of insulation (for example, around 300mm of mineral wool or 150mm of high-performance foam board in a typical loft.
Older roofs, however, often can’t accommodate that much insulation without major changes. Rafters in historic buildings may be shallow, irregular, or obstructed by features like sarking boards (wood boards under the tiles). You might only have space for, say, 50–100mm of insulation between rafters – far less than a modern design would allow. If you tried to meet a 0.18 W/m²K U-value in a traditional roof, you might need to raise the roof height (to add insulation on top) or drastically lower the interior ceiling (to add insulation below), neither of which is usually desirable in a heritage context.
In fact, many older buildings will find it difficult or impossible to hit the 0.18 W/m²K target due to such physical constraints For example, one guidance note explains that a roof with 150mm-deep rafters plus a ~70mm insulating board on top could theoretically reach 0.18 W/m²K – but not all old roofs can accommodate that extra thickness.
The good news is that building authorities understand these limitations. Building Regulations in the UK (Part L) include special considerations for historic and traditionally constructed buildings. This means Building Control Officers are allowed to take a sensible, flexible view when full compliance with modern insulation standards would unacceptably alter the building’s appearance or introduce technical risks. In essence, if you can only fit a certain amount of insulation without harming the structure or character, you are typically permitted to do “as much as is reasonably practicable” rather than meeting the exact new-build U-value.
This kind of mitigation or compromise is often the solution in retrofitting historic roofs. The goal becomes improving thermal performance as much as possible, even if the result is a higher U-value (i.e. less insulation) than modern standards. For instance, a cathedral-ceiling in a listed building might only be improved to around U = 0.6–0.7 W/m²K due to limited space, whereas a new build roof would be 0.18 W/m²K – yet that still represents a huge reduction in heat loss compared to the uninsulated state. (An uninsulated historic roof can have a U-value of ~3.6 W/m²K, so any added insulation dramatically cuts heat loss, even if it doesn’t reach perfection.)
In summary, Building Regulations set the targets, but older buildings often get a pragmatic pass on full compliance. You should always discuss your plans with the local Building Control (and Conservation Officer if the building is listed) early on – they will usually allow a relaxed target when the construction can’t meet the modern standard, as long as you’ve done the best you reasonably can. Energy efficiency is important, but not at the expense of destroying historic fabric or causing structural problems. The key is to strike a balance: improve insulation to cut heat loss and bills, while respecting the building’s constraints.
Retrofitting roof insulation in an older or historic property is seldom a straightforward “lay some fiberglass quilt and done” job. These buildings present specific challenges that modern houses don’t. Here are some of the major issues and why they require special solutions:
Traditional roofs often have relatively thin or closely spaced rafters – sometimes less than 75mm deep – which severely limits the thickness of insulation you can fit between them. If you overstuff insulation into a shallow rafter space, you risk compressing or damaging the interior ceiling (many older ceilings are lath-and-plaster, which can crack or detach under pressure). The shallow depth simply doesn’t allow enough insulation to meet modern U-values. This is a fundamental geometry problem: you can’t put 200mm of material into a 50mm gap without either raising the roof or lowering the ceiling, both of which may be impractical or undesirable.
In historic and listed buildings, the external roof profile and internal timberwork are often important to the building’s character. Achieving high insulation values usually means adding thickness either above or below the rafters – but raising the roof height (to add insulation on top) can alter the roof’s appearance at eaves, gutters, and junctions, which might not be allowed for aesthetic or planning reasons. Similarly, insulating on the inside might mean covering up beautiful old beams or woodwork. There’s often a mandate not to change the visible character of the roof. Building Regulations acknowledge this, allowing exemptions so that insulation upgrades do not “conserve the appearance and character of the building”. In short, any solution has to work within the boundaries of what won’t change the roof’s look – a tricky challenge that can rule out standard approaches.
Older buildings were built to breathe – their roofs and walls often absorb and expel moisture naturally, thanks to permeable materials like lime mortar, timber, and plaster. If you introduce modern non-breathable (waterproof or vapor-tight) insulation layers in the roof, you risk trapping moisture. Condensation can form when warm, humid air from the house hits a cold, impermeable layer in the roof. Traditional lath-and-plaster ceilings, for example, allow moisture to pass through – if you slapped a plastic vapor barrier or foil-faced insulation above them, that moisture could accumulate and lead to dampness, rot, or mold. Moreover, old timber rafters and beams can suffer if they stay damp. Because installing a perfect modern vapor barrier in an irregular historic roof is usually not possible (and often not advised), there’s an increased risk of condensation when using standard insulation materials. Maintaining the roof’s breathability and managing moisture is therefore a core challenge – the retrofit must not compromise the building’s health.
Historic roofs can be a far cry from the uniform trussed rafters of a modern attic. You may encounter boarded roofs (continuous wood planks, or sarking boards, under the slates/tiles) or very uneven, hand-cut rafters. A boarded roof significantly complicates insulation – the boards themselves take up space and may block the usual ventilation path above the insulation. Often, rafters in these roofs are not only shallow but also irregularly spaced and sized. This means pre-cut rigid insulation boards won’t fit neatly; you can’t get an airtight, snug fit because the timbers might be warped or inconsistent. Gaps or compression points can reduce insulation effectiveness. In short, the fabric is “wonky” by modern standards. Also, if the roof is structurally unusual (vaulted ceilings, exposed purlins, etc.), you may not have the option to add layers without major alterations. All these quirks require a flexible, creative approach rather than off-the-shelf solutions.
Adding insulation to any roof also means you must consider ventilation, but in old roofs this is critical. Traditional roofs often rely on passive air circulation (for instance, air entering at the eaves and exiting at the ridge) to carry away moisture. If new insulation blocks the eaves or other ventilation gaps, moisture can build up in the timber structure. For example, if insulation is stuffed right to the edges of the roof without clear air channels, the once-dry roof void can become a stagnant, damp space. Likewise, older roofs might have impermeable roofing felt under the slates (common in 20th-century repairs) – if insulation touches that non-breathable felt, any condensation on the felt could soak into the insulation. Maintaining airflow is a challenge: you often need to leave an air gap above insulation or use breathable membranes so that the roof stays dry. Ensuring you “do no harm” to the building’s ventilation balance is as important as the insulation itself.
As you can see, insulating a historic roof isn’t just a matter of choosing a thicker insulation – it’s a balancing act between thermal improvement and preserving structural integrity and character. Every old building will have a slightly different set of challenges. Next, we’ll look at how to address these challenges with practical solutions and compromises.
Despite the hurdles, there are ways to improve roof insulation in older properties safely and effectively. The approach usually involves a mix of clever materials, modified techniques, and acceptance of “diminishing returns” beyond a certain point. Here are some strategies:
In a retrofit, something is better than nothing. Even if you can’t reach the U-value of a brand-new home, you can still drastically reduce heat loss. Focus on installing the maximum thickness of insulation that the structure allows, without causing issues. For example, if your rafters are 75mm deep, you might fit 75mm of breathable insulation between them. If you can add a little more elsewhere (either above or below the rafters) without compromising the building, do so. The aim is to make a significant improvement in thermal performance, even if it falls short of modern standards. Building Control will typically accept a reasonable upgrade – they might ask for calculations or reasoning, but they have leeway to approve a higher U-value when further improvement isn’t practicable. It’s often useful to document your constraints (e.g. “rafters are only 50mm, cannot add more between; roof cannot be raised due to conservation area rules”) when applying for approval. Remember, a U-value of 0.4 or 0.5 W/m²K, if that’s the best you can do, is still a big improvement from ~3.6 W/m²K uninsulated.
If the roof covering (tiles/slates) is going to be replaced or can be temporarily removed, one excellent method is to add insulation above the rafters (called a warm roof). In many historic buildings, completely rebuilding the roof buildup may not be possible, but a small increase in roof height might be acceptable if done subtly. For instance, adding 50mm counter-battens on top of a boarded roof can create a space for an insulating breather membrane or slim insulation layer without drastically altering the appearance. Thin multifoil insulation membranes have been a game-changer here – these are reflective, quilt-like materials only a few millimeters thick, but when draped over rafters with an air gap, they can provide substantial insulation equivalent to perhaps 50mm of wool. They are also vapour-permeable in specialized versions, meaning they let moisture out while keeping heat in. For example, one historic museum project used a multi-foil breathable membrane over 50mm battens and achieved a roof U-value around 0.67 W/m²K without significantly raising the roof height. In the image above, a breathable multi-foil insulation (gold-colored membrane) is draped over new counter-battens on an old roof – an approach that improves insulation while only raising the roof slightly. If more thickness is acceptable, you can combine layers – e.g. the breather membrane plus a slim rigid board on top of the boards. Even an extra 50–80mm of wood fibre board or PIR foam above the rafters can further reduce U-value. The key is to do this in conjunction with re-roofing work and to ensure the perimeter details (eaves, gables) are managed so the change isn’t noticeable or harmful to the look. This warm roof method keeps the roof timbers warm (reducing condensation risk) and maximizes insulation without encroaching on internal space. Just be sure any added layers are breathable (or that you maintain ventilation above them) if the original roof structure needs to breathe.
If you cannot alter the roof externally (say it’s an intact historic roof covering that must remain, or planning won’t allow raising), you may add insulation from below or between rafters internally. One approach is to fix insulating boards or batts underneath the rafters, then finish with plasterboard or plaster. For example, you could attach wood-fibre insulation boards or high-performance composite insulated plasterboard to the underside of the roof – this adds thermal resistance, though you’ll lose a bit of headroom in a loft space. With shallow rafters, a common technique is a hybrid: put some insulation between the rafters (not over-stuffing – leave an air gap above it if there’s non-breathable felt) and then add another layer across the underside of the rafters. Even an extra 25–50mm under the rafters can improve overall performance. If you have exposed rafter timbers that you don’t want to cover up entirely, you might insulate between and leave the rafters exposed by using insulation boards that fit between them and finish flush with their face – though this is tricky to achieve neatly. Keep in mind that adding internal insulation can sometimes change the interior appearance (e.g. covering historic plaster or decorative structure), so weigh that against the energy benefit. Always ensure that internal insulation doesn’t trap moisture coming through the roof – often this means not using a polyethylene vapour barrier in these cases (since it’s hard to do perfectly and can cause as many problems as it solves in a leaky old structure). Instead, rely on breathable materials and ventilation strategies for moisture control if possible (more on that below).
Whenever you retrofit insulation, particularly in an old roof, you must address ventilation so that any moisture that does get into the roof can escape. This can be done passively or through material choice. If you are doing a cold roof (insulation at ceiling level), make sure the attic space above is well ventilated (e.g. add eaves vents or ridge vents if none exist, and don’t block the eaves with insulation). If you’re insulating between rafters (warm roof), ideally use a breathable membrane above the insulation so that water vapor can pass out through the roof rather than condensing on a cold impermeable layer. Avoid having insulation in direct contact with old bitumen roofing felt – if that felt is not breathable, consider upgrading it to a modern breather membrane during re-roofing, or leave a ventilated gap. The general principle is: keep the roof timbers dry. You can do this by allowing air flow (small gaps, vents) and/or by using materials that work with moisture (hygroscopic and breathable insulations that won’t trap water). It’s also wise to ensure any internal finish (plasterboard, etc.) is fairly breathable or at least that perimeter edges are not completely sealed – some amount of vapor will find its way into the roof, and it needs a way out. In some cases, installing a discreet vapour check layer on the warm side (interior side) can help prevent excess moisture entering the roof, but in historic buildings this must be done carefully (a full plastic vapor barrier might do more harm than good if not perfectly installed, whereas a smart membrane or just paint that slows vapor might suffice). Each roof is different, but never ignore moisture: a well-insulated but un-ventilated historic roof could quietly accumulate damp and lead to timber decay. So plan for your roof to breathe one way or another, through design or materials.
When space is at a premium, consider specialized insulation products that offer more insulation per inch. We mentioned multi-foil insulating membranes above, which are one example – they use reflective layers to reduce radiant heat loss and can double as the breather membrane. Another option is aerogel insulation (like thin blankets or boards infused with aerogel, a super-insulating silica material) which can provide a good thermal boost in a very thin layer – these are often used in historic building retrofits for areas like dormer cheeks or solid walls, though they are expensive. High-density phenolic foam boards have slightly better thermal performance than standard PIR foam, so you get a bit more effect for the same thickness. Even insulating plaster or aerated lime plaster can add a little insulation if you’re truly constrained (though by itself plaster adds very little – it’s usually combined with a lightweight aggregate). The point is, if you absolutely cannot add more than 50mm of something, make that 50mm count by choosing the best material for the job (keeping in mind breathability and compatibility). Do pay attention to fire safety and approvals for any product in a roof. Also, don’t obsess over just thickness/R-value at the cost of practicality – as one source notes, a thicker product with a great R-value might be counterproductive if it’s too bulky to install properly or creates gaps at joints. Sometimes a slightly thinner, flexible insulation that can be fit tightly with no gaps will perform better in reality than a thicker board that leaves gaps around warped rafters. Quality of installation and coverage is as important as the material itself.
In all these solutions, a guiding principle is “do no harm.” Avoid methods that would damage historic building materials – for instance, do not cut through old timbers just to run insulation or vents. Be cautious about removing historic plaster or finishes; if they’re sound, try to retain them (perhaps insulate above instead of below in that area, or use a vapor-permeable liner internally). Also, weigh the benefit of insulating versus the potential loss of a heritage feature – e.g., covering an ornate plaster ceiling from below with insulation would hide it; in such a case, you might choose to insulate above the ceiling instead (even if it means lifting floorboards in the attic). Every house will require a custom approach: an out-of-the-box insulation scheme that works in a 1990s house could wreak havoc in an 1890s one. Often, a combination of methods yields the best result – perhaps some insulation at ceiling level in accessible flat areas, and some at rafter level in slopes, plus maybe secondary measures like heavy curtains or attic hatch insulation to plug the remaining heat leaks. Patience and flexibility are key: expect that the plan might need tweaking once you open up the roof and see what’s really there. When in doubt, err on the side of the building’s safety – it’s better to install 20% less insulation than planned if squeezing in that last bit risks trapping moisture or cracking a ceiling.
A crucial aspect of insulating older buildings is material choice. In historic and solid-walled structures, you should use “breathable” insulation products that let moisture pass through and sympathetically interact with the building fabric. Unlike modern plastic foams or foil-lined boards, these traditional or natural insulations help maintain the building’s health by preventing moisture buildup. They are often also more “sympathetic” in the sense that they’re made of natural or compatible materials. Let’s highlight two popular options – sheep’s wool and wood fibre boards – and why they are well-suited for heritage homes (along with a few others to consider):
Above: Wood fibre insulation boards being installed on the exterior of a historic barn conversion. These boards add insulation while allowing the old stone walls and roof to breathe.
Wood fibre boards are rigid panels made from compressed wood fibers (essentially wood waste like sawdust, bonded by the wood’s natural lignin). They are highly breathable and hygroscopic, meaning they can absorb and release moisture without losing their insulating properties. This makes them ideal for solid-wall buildings and roof applications where you want to avoid trapping moisture. Wood fibre boards can be used between or across rafters, or even as sarking boardson top of rafters. In fact, some retrofits use wood fibre sarking boards above the roof in place of plywood – this adds insulation and allows the roof to dry outwards. These boards can also double as a base for plaster or render, which is great for walls or the underside of a roof if leaving it exposed. For example, one heritage consultant mentions using 35mm wood fibre sheathing boards on a barn roof/wall to improve insulation; aside from thermal benefits, it provided structural rigidity and a breathable layer before applying the final cladding. Wood fibre insulation is especially suitable for historic buildings because it preserves the breathability of timber and masonry, thus preventing condensation. It’s also a sustainable, natural product. Do note that wood fibre is not as resistive per inch as PIR foam, so you need a bit more thickness for the same U-value – but in return you get a safer, more forgiving solution for old buildings. Wood fibre boards have been successfully used in many solid-wall insulation projects and heritage retrofits, proving their worth in moderating moisture and keeping walls and roofs dry.
Sheep’s wool is perhaps one of the oldest insulators (after all, nature designed it to keep sheep warm and dry!). As an insulating material for homes, it usually comes in batts or rolls similar in appearance to mineral wool, and it can be laid in lofts, between studs/rafters, or in other voids. The big advantage of sheep’s wool is its excellent breathability and moisture-buffering ability. Wool can absorb a large amount of water vapor – up to about 30% of its weight – without feeling wet, then release it when conditions dry out. This helps regulate humidity and prevents condensation spikes. In an old roof, using sheep’s wool between rafters means that if some moisture gets in, the wool will dampen slightly and later dry out, rather than becoming waterlogged or causing timber to rot. Wool is also naturally antibacterial and mold-resistant to an extent (lanolin in the wool helps with that). Importantly, it’s a fully sustainable and renewable product – often locally sourced – which appeals to eco-conscious renovators. Many conservation experts consider sheep’s wool a “sympathetic” choice for historic buildings. In fact, organizations like the National Trust have used sheep’s wool insulation in their properties, attesting to its suitability. It’s safe to handle (no nasty itch like fiberglass) and can fit flexibly into uneven gaps. The only caution with wool is to ensure it’s adequately treated to deter moths or pests (modern wool insulation is usually treated with a benign borate for insect resistance, and early problems with moths have been resolved in current products). As long as it’s installed where it can breathe (not sandwiched against a vapor barrier), sheep’s wool will perform well for the life of the building, helping keep it warm and dry.
In addition to wood fibre and sheep wool, there are several other materials worth mentioning. Hemp and flax insulation (often in batt form) are similar to wool in performance – they’re plant-based, breathable, and sustainable. Cellulose insulation, made from recycled newspaper treated to resist fire and mold, is another breathable option, usually blown in as a loose-fill (great for attics or enclosed cavities). Wood wool boards (not to be confused with wood fibre – wood wool is strands of wood bound with cement or clay) are a traditional product that can also carry plaster and provide some insulation, with good breathability. Cork insulation boards or granules offer decent insulation and are completely natural and breathable, often used in floors or walls of eco-renovations. The common thread is that all these materials allow moisture to diffuse and don’t trap water – this property is crucial for the “vapor-open” building envelope that old structures rely on. They are typically compatible with lime-based mortars and plasters used in historic homes and won’t introduce harmful chemicals. While these natural insulations might have slightly lower pure R-value per inch compared to poly-foam boards, their ability to protect the building’s fabric from moisture often makes them the superior choice for heritage work. By using them, you reduce the risk of damp problems that could negate any energy savings. Several UK sources list wood fibre and sheep’s wool at the top of suitable insulators for traditional buildings, so they come highly recommended.
One more point on breathability: using these materials also means you often don’t need a separate vapor barrier in the assembly (in fact, adding one could defeat the purpose). The insulation and building fabric together handle moisture in a safe way, as long as you have some ventilation route. This simplifies installation and avoids the scenario of trapped moisture. However, it’s still important to ensure draughts are controlled – being vapor-open is not the same as being air-leaky. You should install these insulations with care to avoid gaps, and use air-tight but vapor-permeable membranes or tapes as needed to block wind washing while letting vapor through.
Upgrading roof insulation in a historic property is a project that should be approached carefully. Here are some practical tips for homeowners to ensure a successful and sensitive retrofit:
Engaging a professional with experience in older buildings is perhaps the best first step. A conservation architect, a retrofit coordinator, or an energy consultant familiar with traditional construction can survey your roof and recommend an appropriate strategy. Every old house is unique – professional guidance will tailor the solution to your property’s quirks. An expert can also run U-value calculations and hygrothermal analyses to predict moisture behavior, which is invaluable for peace of mind. As a homeowner, you may not know all the building’s history or hidden issues (like previous repairs or insect damage in the roof); a professional will identify those. They will also understand the Building Regulations and can communicate with Building Control on your behalf to negotiate any needed compromises. Remember, advice is crucial in solid-wall and heritage buildings – even a one-off consultation can set you on the right path.
If your insulation work is significant, it likely falls under Building Regulations for thermal upgrade (especially if you’re re-roofing or converting a loft). Don’t be afraid to talk to your local Building Control early – they can be very helpful when they understand the constraints. As noted, they have discretion for historic buildings. If your house is listed or in a designated historic area, you will also need to get listed building consent or at least advice from the conservation officer for changes like altering the roof buildup. Involving these officials early prevents headaches down the line. They might have particular requirements (for example, “use a breathable membrane, not standard felt” or “do not raise the ridge height at all”) that you need to design around. It’s better to design your insulation plan with their input rather than have to redo work. Keep documentation of what you intend to do and why – for instance, an explanation that “full 200mm insulation can’t be installed because it would spoil the original cornice or dormer details, so we propose 100mm which yields U=X” – this rationale will help in approvals.
As we covered, opt for breathable, natural insulation materials for an older home whenever possible. Sheep’s wool, wood fibre boards, hemp batts, cellulose, etc., can all deliver good thermal performance while protecting your building from damp. These might be sourced from specialist suppliers – a professional can recommend products, or you can find them through green building stores. Make sure any material you use is appropriate for the application (e.g., wood fibre or cork boards for a roof may need to be high density for strength if used above rafters). Avoid the temptation to use quick fixes like spray foam – these are not breathable and can trap moisture, causing long-term damage in old roofs. Many homeowners have learned the hard way that a non-breathable insulation in a heritage building can lead to rot or mold. Instead, stick with the “do no harm” materials that buffers moisture. Additionally, ensure any membranes (roof underlay or vapor checks) are also breathable if used.
When insulating, the devil is in the details. Ensure that insulation is fitted tightly but without forcing it into voids. Any gaps can become cold bridges or allow moist air to bypass the insulation. For instance, if insulating between rafters, cut the batts slightly oversize so they friction-fit with no gaps. Use flexible sealant or tape around edges if needed (with breathable products available for this purpose). Do not cover ventilation openings – eaves ventilation strips or roof vents must be kept clear. If your design calls for a 50mm air gap over insulation, use spacers or ensure your insulation can’t slump and block that gap over time. Pay special attention to junctions, like where the roof meets the walls, around any chimney or rooflight, and at the ridge. These spots are often tricky in old houses, and you might need to get creative (for example, insulating up the inside of a parapet wall, or insulating around a chimney breast in the loft) to ensure there aren’t major heat leaks or condensation points. Plan for services as well – if you have wiring or pipes in the loft, don’t squish them with insulation; have an electrician check if you need to de-rate cables under insulation, etc. These might seem like small points, but they make the difference between an insulation job that is effective versus one that causes new issues.
Once your roof insulation is installed, stay vigilant in the first year through the seasons. Check your loft or roof space occasionally for any signs of condensation or damp smells, especially after a cold night or heavy rain. If you see any issues (like woodwork getting unexpectedly damp, or mold starting on a rafter), address it immediately – perhaps you need to tweak ventilation or there’s a spot that wasn’t insulated quite right. Often, a properly done job will be fine, but it doesn’t hurt to keep an eye out. Also, maintain the roof covering – a leak through slipped slates can wet even the best insulation and cause trouble. One advantage of breathable insulation is that if a small leak occurs, things can dry out better, but a big leak can still create havoc. So regular roof maintenance is part of the package of having a well-performing historic roof. On the flip side, you should notice the home is warmer and less drafty after the insulation – enjoy the improved comfort and perhaps lower heating bills, knowing you did it in a sensitive way!
Finally, remember that a historic home’s energy efficiency is a sum of many parts. Upgrading the roof insulation will certainly help (the roof is a major source of heat loss), but for best results you should also consider other measures: draught-proofing doors and windows, insulating other elements (like floors or walls, if feasible), and improving heating system efficiency. In older houses, simple steps like thick curtains, secondary glazing, or even just closing shutters at night can complement your roof insulation by reducing heat loss elsewhere. If you couldn’t insulate the roof to the ideal level, you can often compensate by boosting insulation in an easier area (for example, add insulation to the loft floor if the attic isn’t used, or insulate between floor joists of the top floor). Think of it as an overall retrofit plan – the roof is a big piece, but all the improvements together will make your home noticeably cosier and more energy efficient. Always prioritize measures that won’t harm the building’s fabric.
Retrofitting insulation into an older or historic property’s roof is indeed a balancing act. You have to weigh the benefits of energy savings and comfort against the potential impact on the building’s structure and heritage value. The key takeaways are: do as much as you reasonably can, use the right materials, and don’t force a solution that doesn’t fit. Modern Building Regulations and best practices are there to guide you, but they also provide flexibility for traditional buildings – use that flexibility wisely. By using breathable, sympathetic insulation materials and thoughtful design, you can significantly improve your home’s thermal performance without causing damp problems or spoiling its historic character.
One cannot overstate the importance of professional advice and proper planning in this process. A retrofitting project in a 100-year-old (or 300-year-old!) house isn’t your typical DIY insulation job. Consulting with experts will help ensure you’re making the right choices and that you remain compliant with any legal requirements. As a homeowner, your role is to be informed (hopefully this blog has helped with that!), to assemble a good team (consultants, contractors) who understand older buildings, and to coordinate with authorities for a smooth project.
In the end, when done right, insulating your historic roof will pay off with a more comfortable home and lower energy bills, all while preserving the very elements that make your house special. It is indeed possible to “save energy and save history” at the same time. With careful execution, you’ll not only meet the spirit of the building regs (by improving energy efficiency), but also uphold your responsibility as a custodian of your heritage building. So, embrace the challenge with eyes open and expert help at hand. Your old house can be made warmer and more efficient, and it will thank you for the sympathetic upgrade in the years to come.
LABC (Local Authority Building Control) – “How to insulate roofs on old properties” (updated Jan 2024): Practical tips on insulating older roofs.
Historic England – Energy Efficiency and Historic Buildings: Insulating roofs at rafter level (guidance note): Discusses achieving U-values and special considerations for historic buildings under Building Regulations.
Minster (Case Study: Museum of Gloucester roof retrofit): Example of compromise using breathable multi foil insulation to improve a listed building’s roof without meeting full 0.18 W/m²K U-value.
GreenMatch – Guide to Breathable Insulation: Explanation of why breathable materials (sheep’s wool, wood fibre, etc.) are suited for older solid-wall homes.
Heritage Consulting: Notes on use of Sheep’s Wool and Wood Fibre Boards in historic buildings (benefits of breathability and examples in practice)
Stirling City Heritage Trust – Retrofitting Traditional Buildings: Insulation: Emphasises the need for vapor-permeable insulation in traditional construction and lists suitable natural materials
A new roof is a big investment – make it count by ensuring your home is well-insulated and compliant. If keeping your home cool in summer and warm in winter is a priority, now is the time to act. GNR Roofing Services is here to help you achieve an energy-efficient roof that will enhance your comfort and save you money for years to come. As a fully accredited roofing contractor, we handle everything from selecting the right insulation products to self-certifying the finished work, so you can sit back knowing your project is in expert hands and meets all the regulations.
Contact GNR Roofing Services today to discuss your re-roofing plans and get a free, no-obligation quote. Our knowledgeable team will gladly assess your current roof insulation, explain your upgrade options, and guide you through the process of a roof replacement that improves your home’s efficiency. Let us help you create a home that’s cooler in the summer, cosier in the winter, and altogether more comfortable year-round. Get in touch now – and take the first step toward a better-insulated, more energy-efficient home!
Get in touch