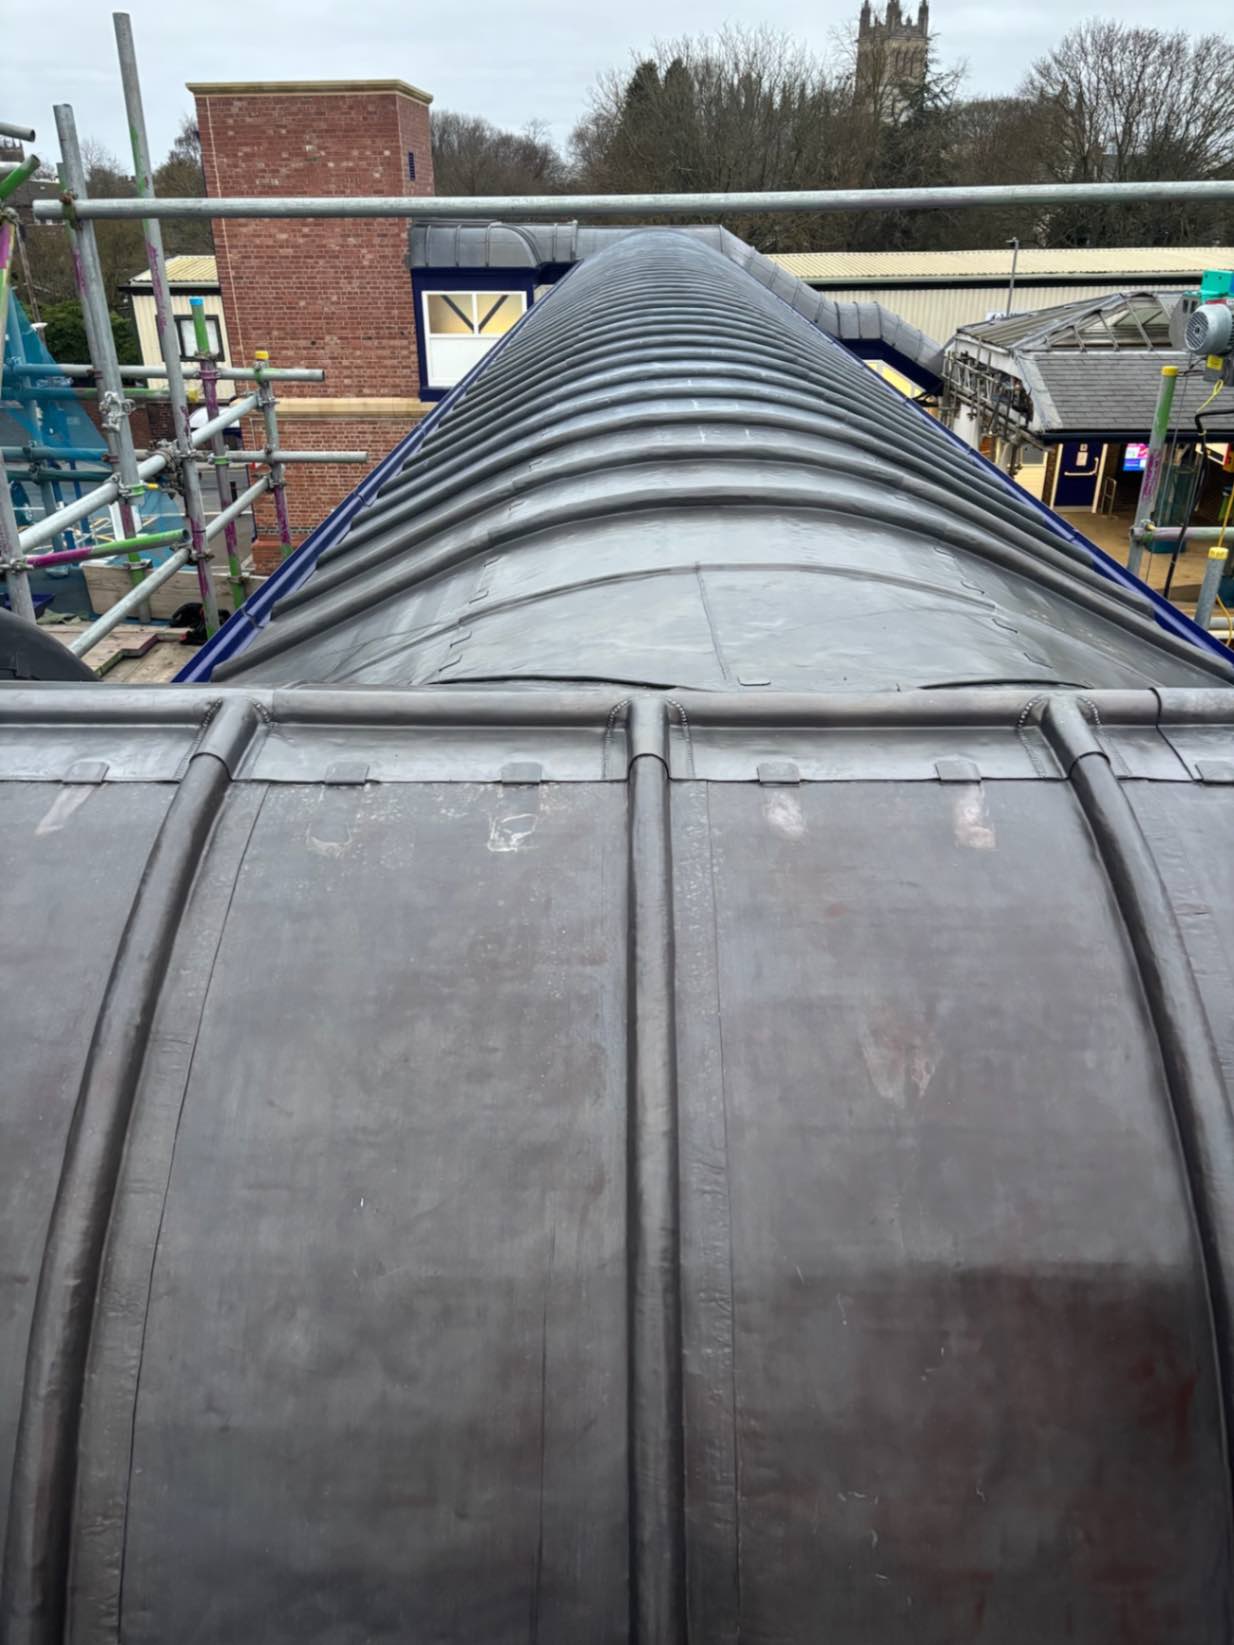
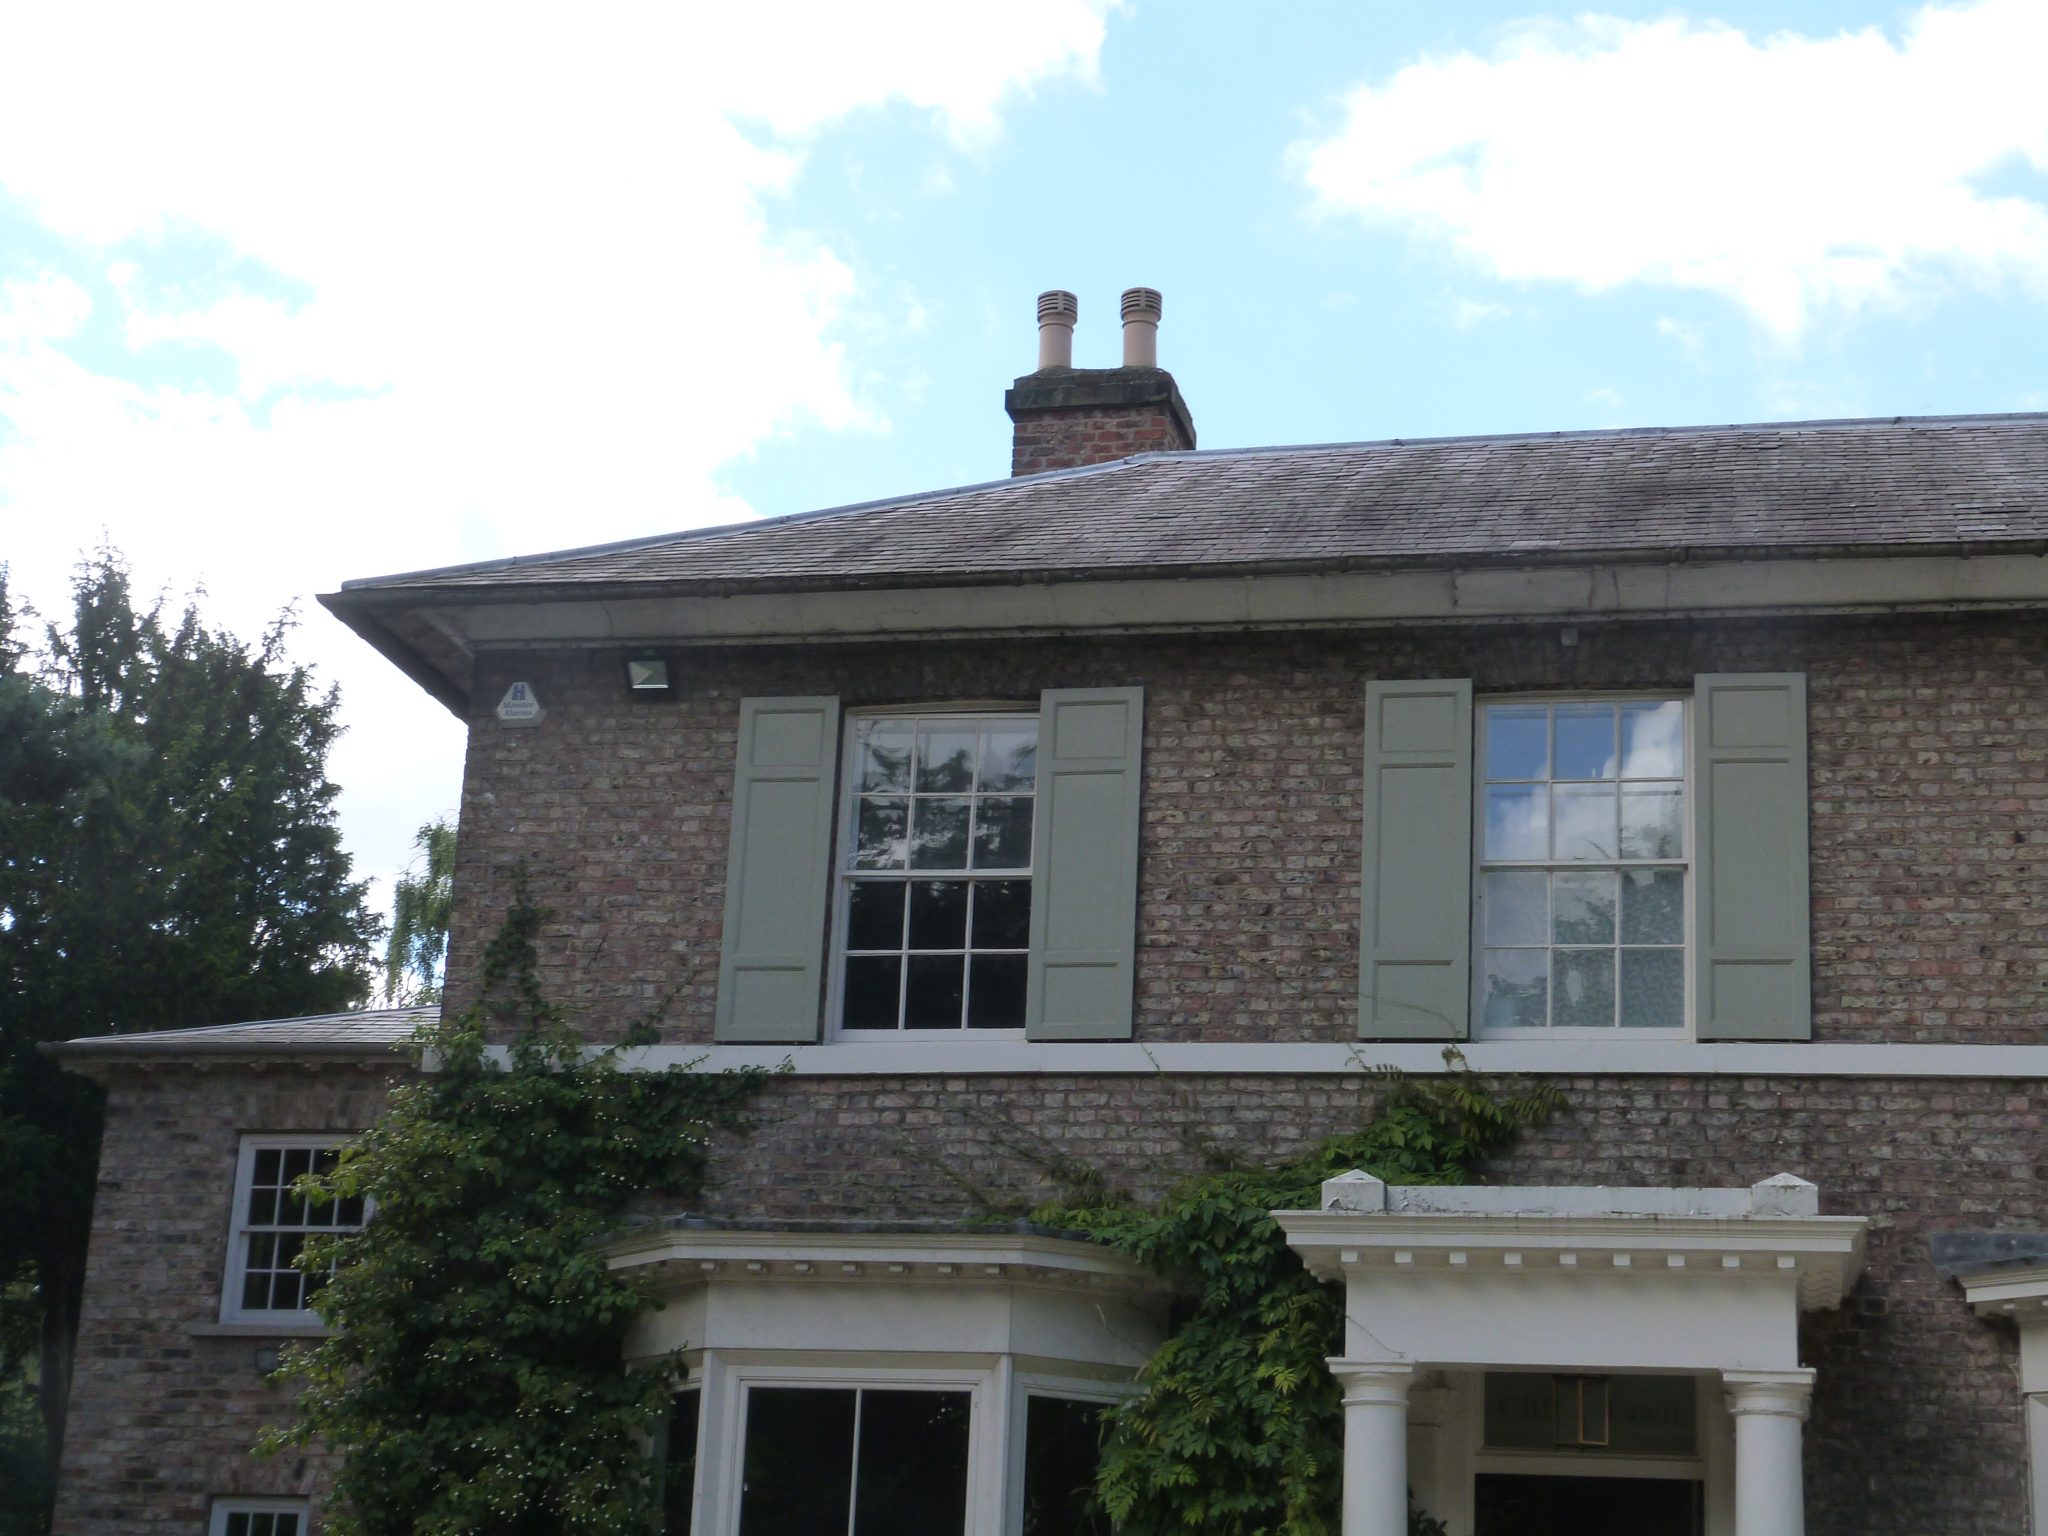
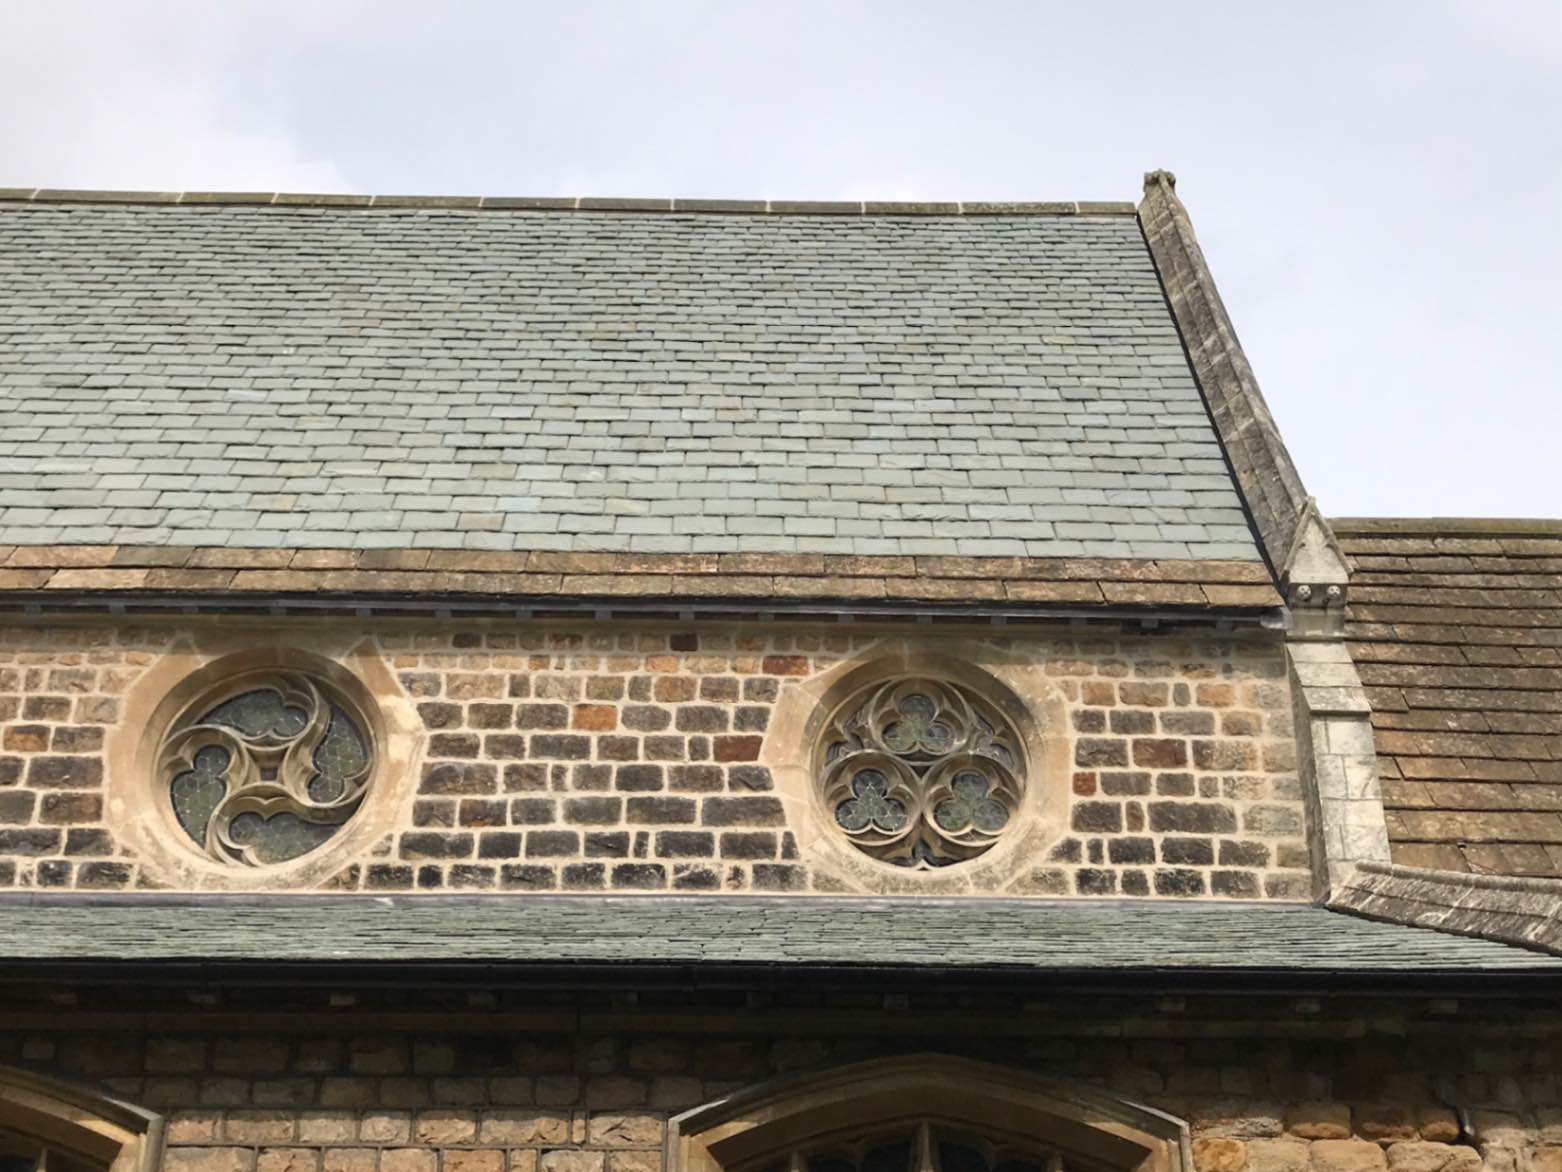
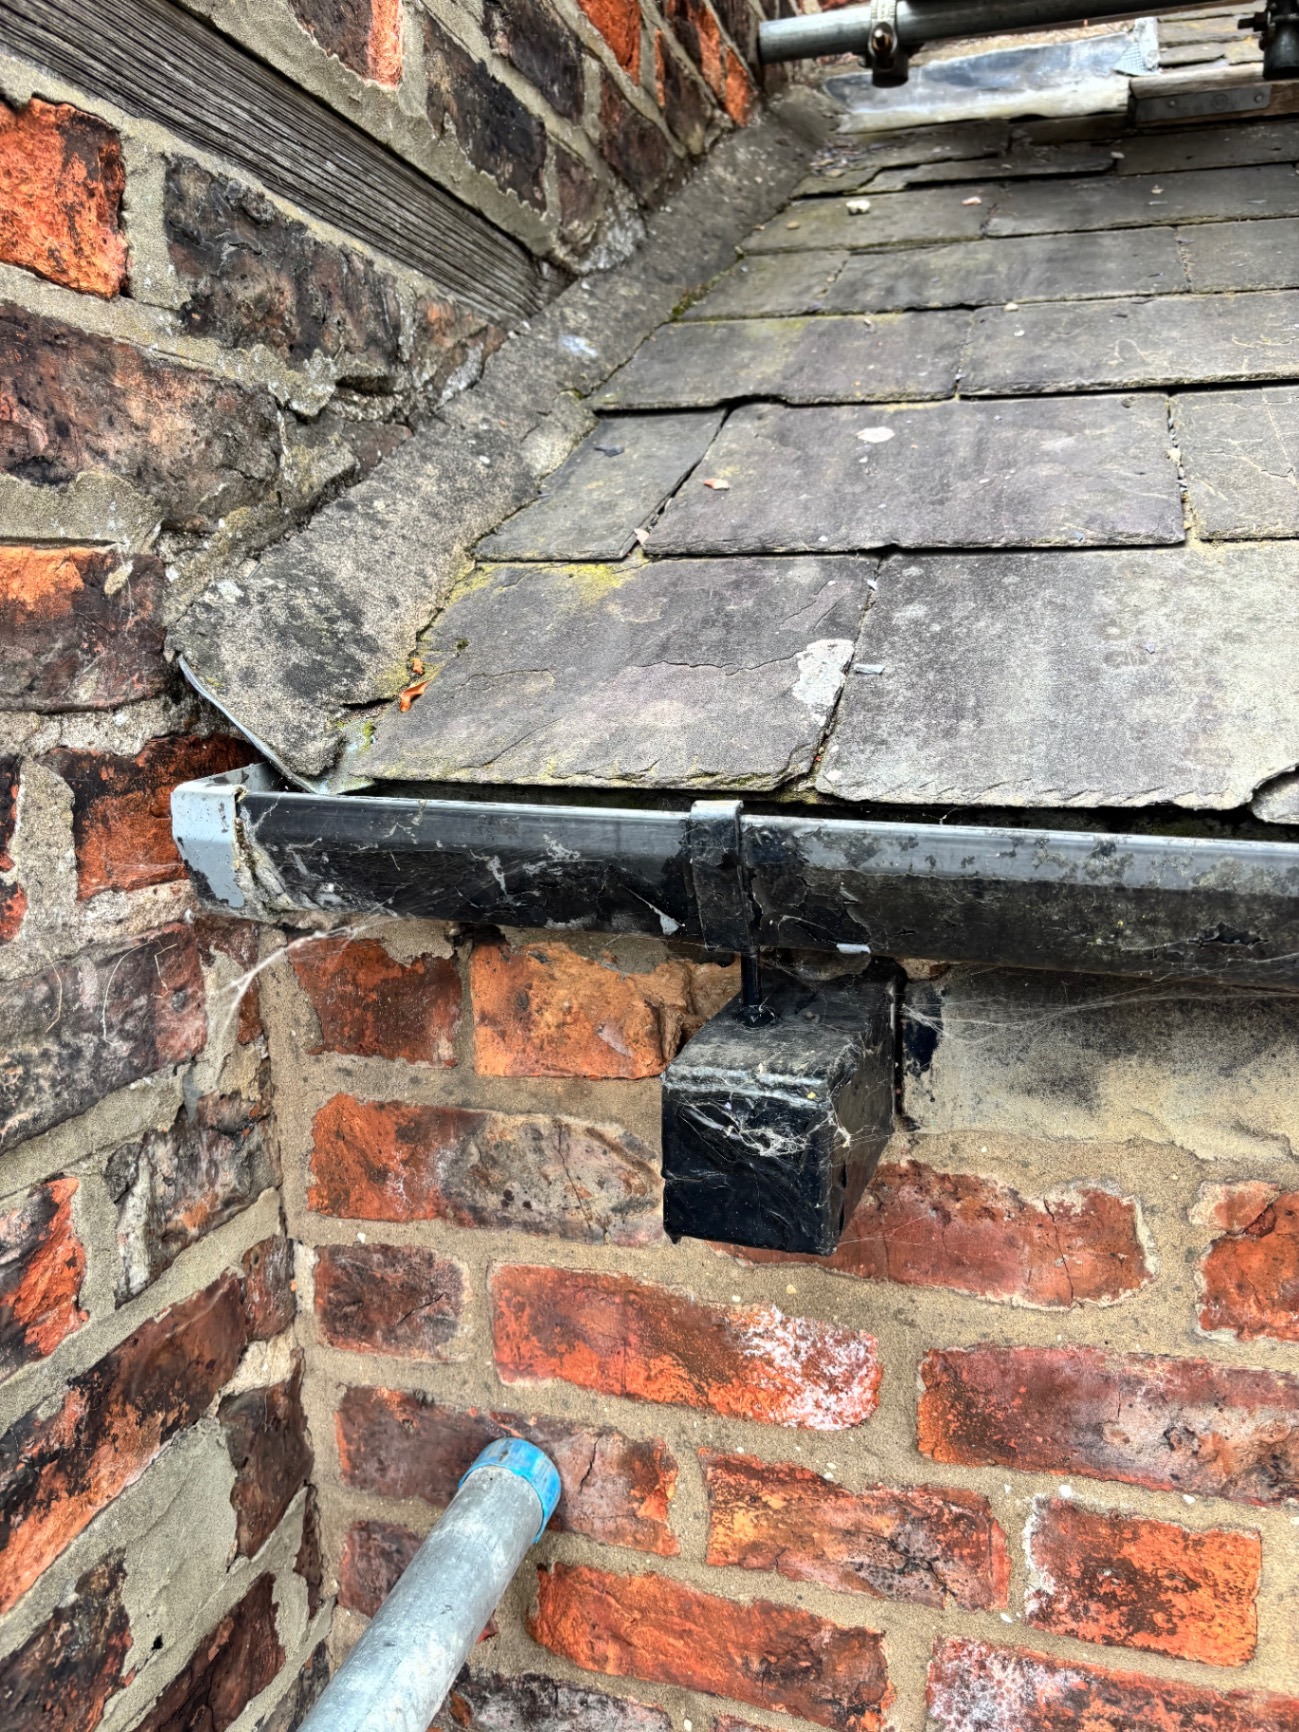
A lead valley repair involves replacing or restoring the lead flashing in the valley area of a pitched roof—where two roof slopes meet to channel rainwater away.Over time, lead in this area can crack, split, or become displaced due to weathering, movement, or poor installation, leading to leaks. What it typically involves:

Including traditional methods and modern alternatives
A roof valley is the internal angle where two sloped roof sections meet, directing water down to the guttering. These valleys are often lined with lead flashing to create a watertight channel. Over time, movement, corrosion, or poor workmanship can cause leaks—requiring a full repair or replacement.
Material-Specific Tips:
Tip: For very wide valleys or exposed conditions, consider welted edges for extra durability.
Place fibre cement support strips (such as valley boards or pre-formed fillets) along each side of the valley. These are not needed for slates or plain tiles.
Bed any mortar onto these not directly on lead when suing a material such as pantiles or concrete interlocking rod tiles, which helps:
Maintain structural support
Carefully replace slates or tiles over the new valley:
For pantiles or deep-profile tiles, use mortar bedded onto a fibre cement strip where necessary to avoid gaps.
If bedding is required (commonly with plain tiles or slates):
In many new-build homes, traditional lead is being replaced with dry valley troughs, typically made from GRP (Glass Reinforced Plastic) or polypropylene.
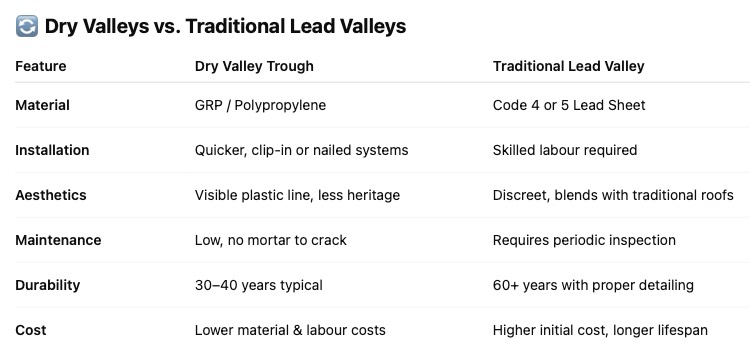
Key product differences
Verdict:
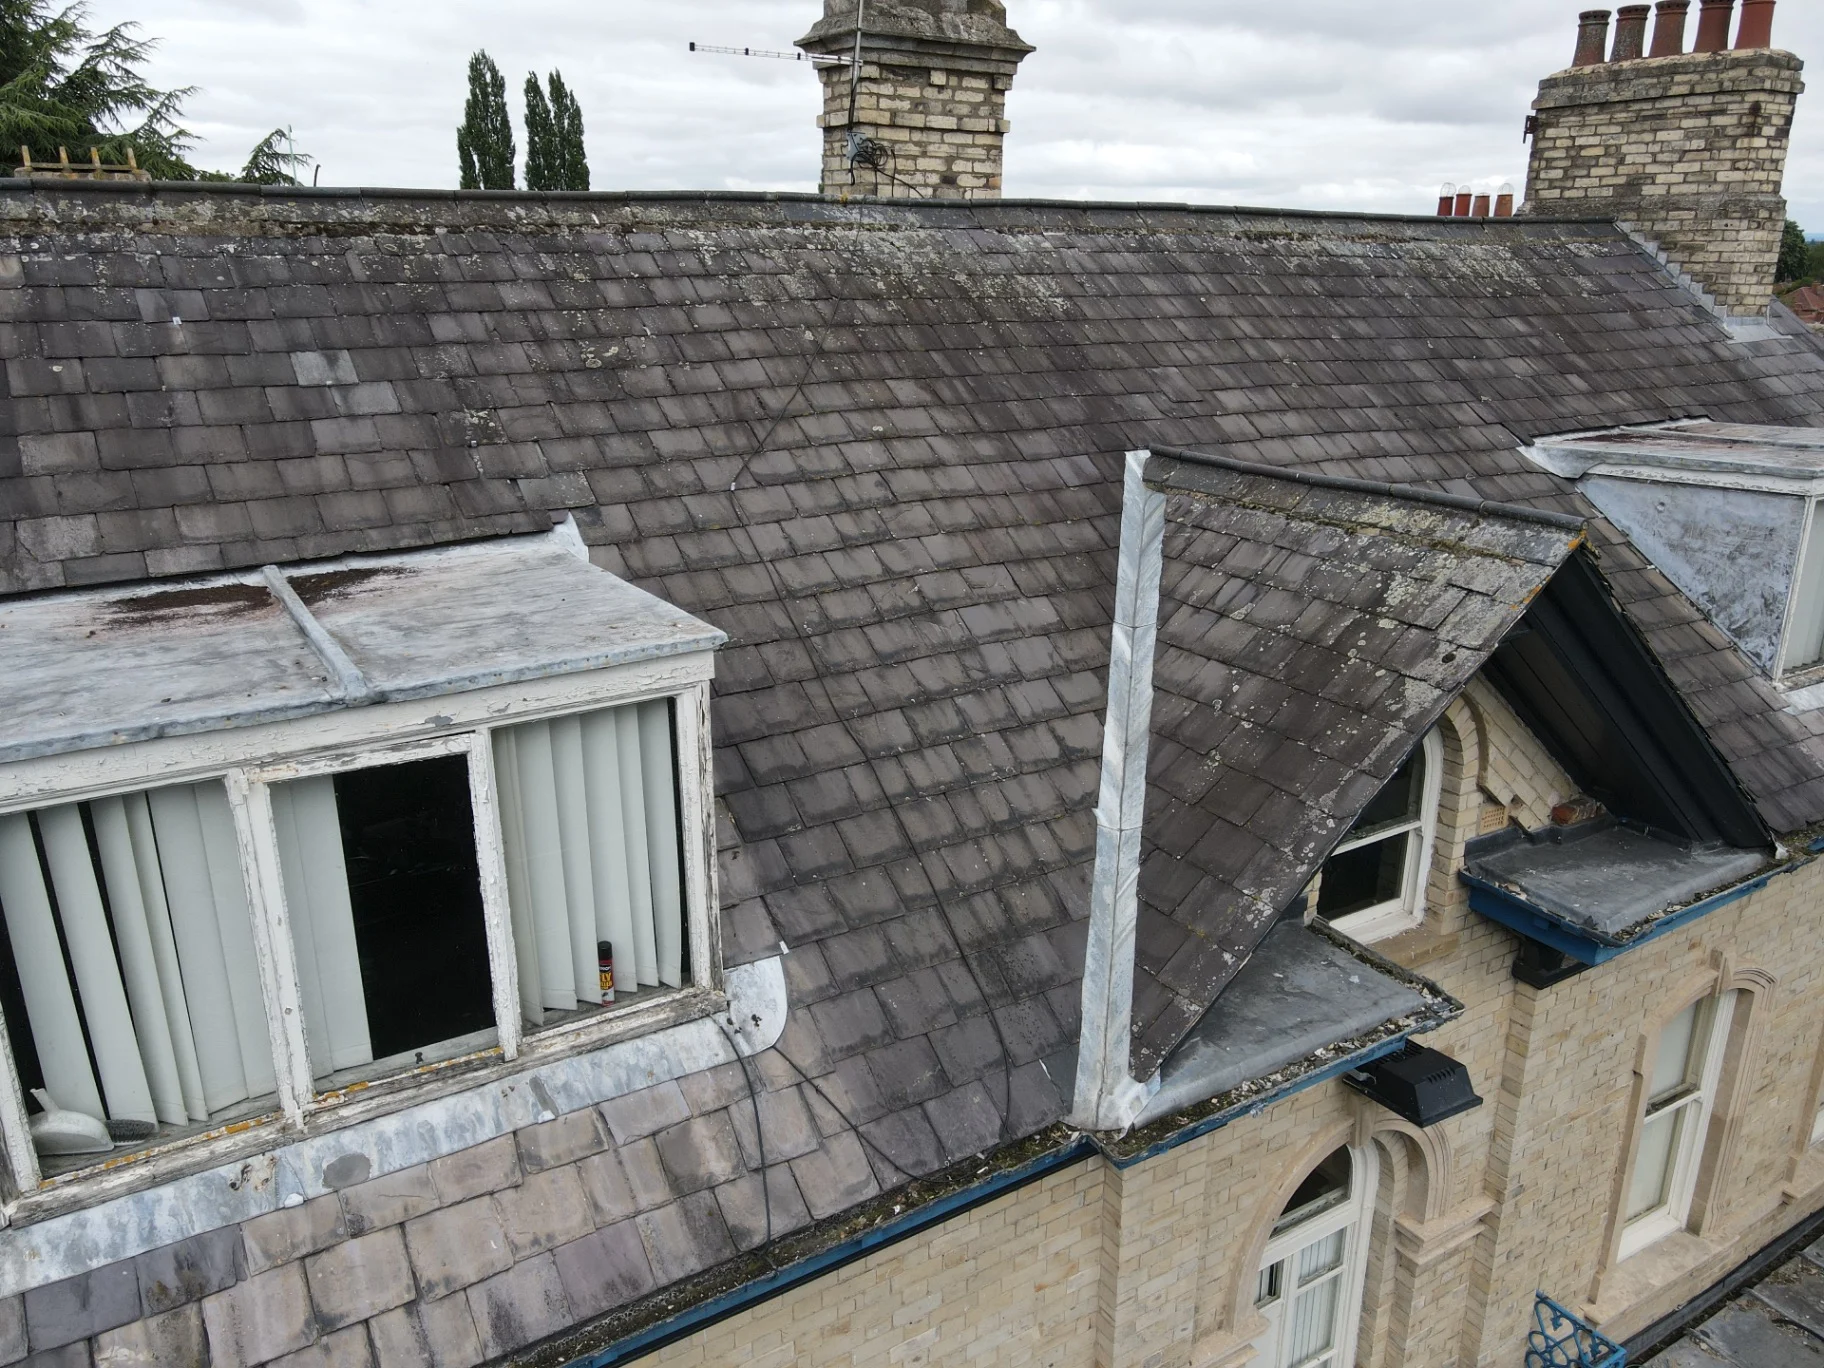
Lead valleys can be replaced when a roof is slated.
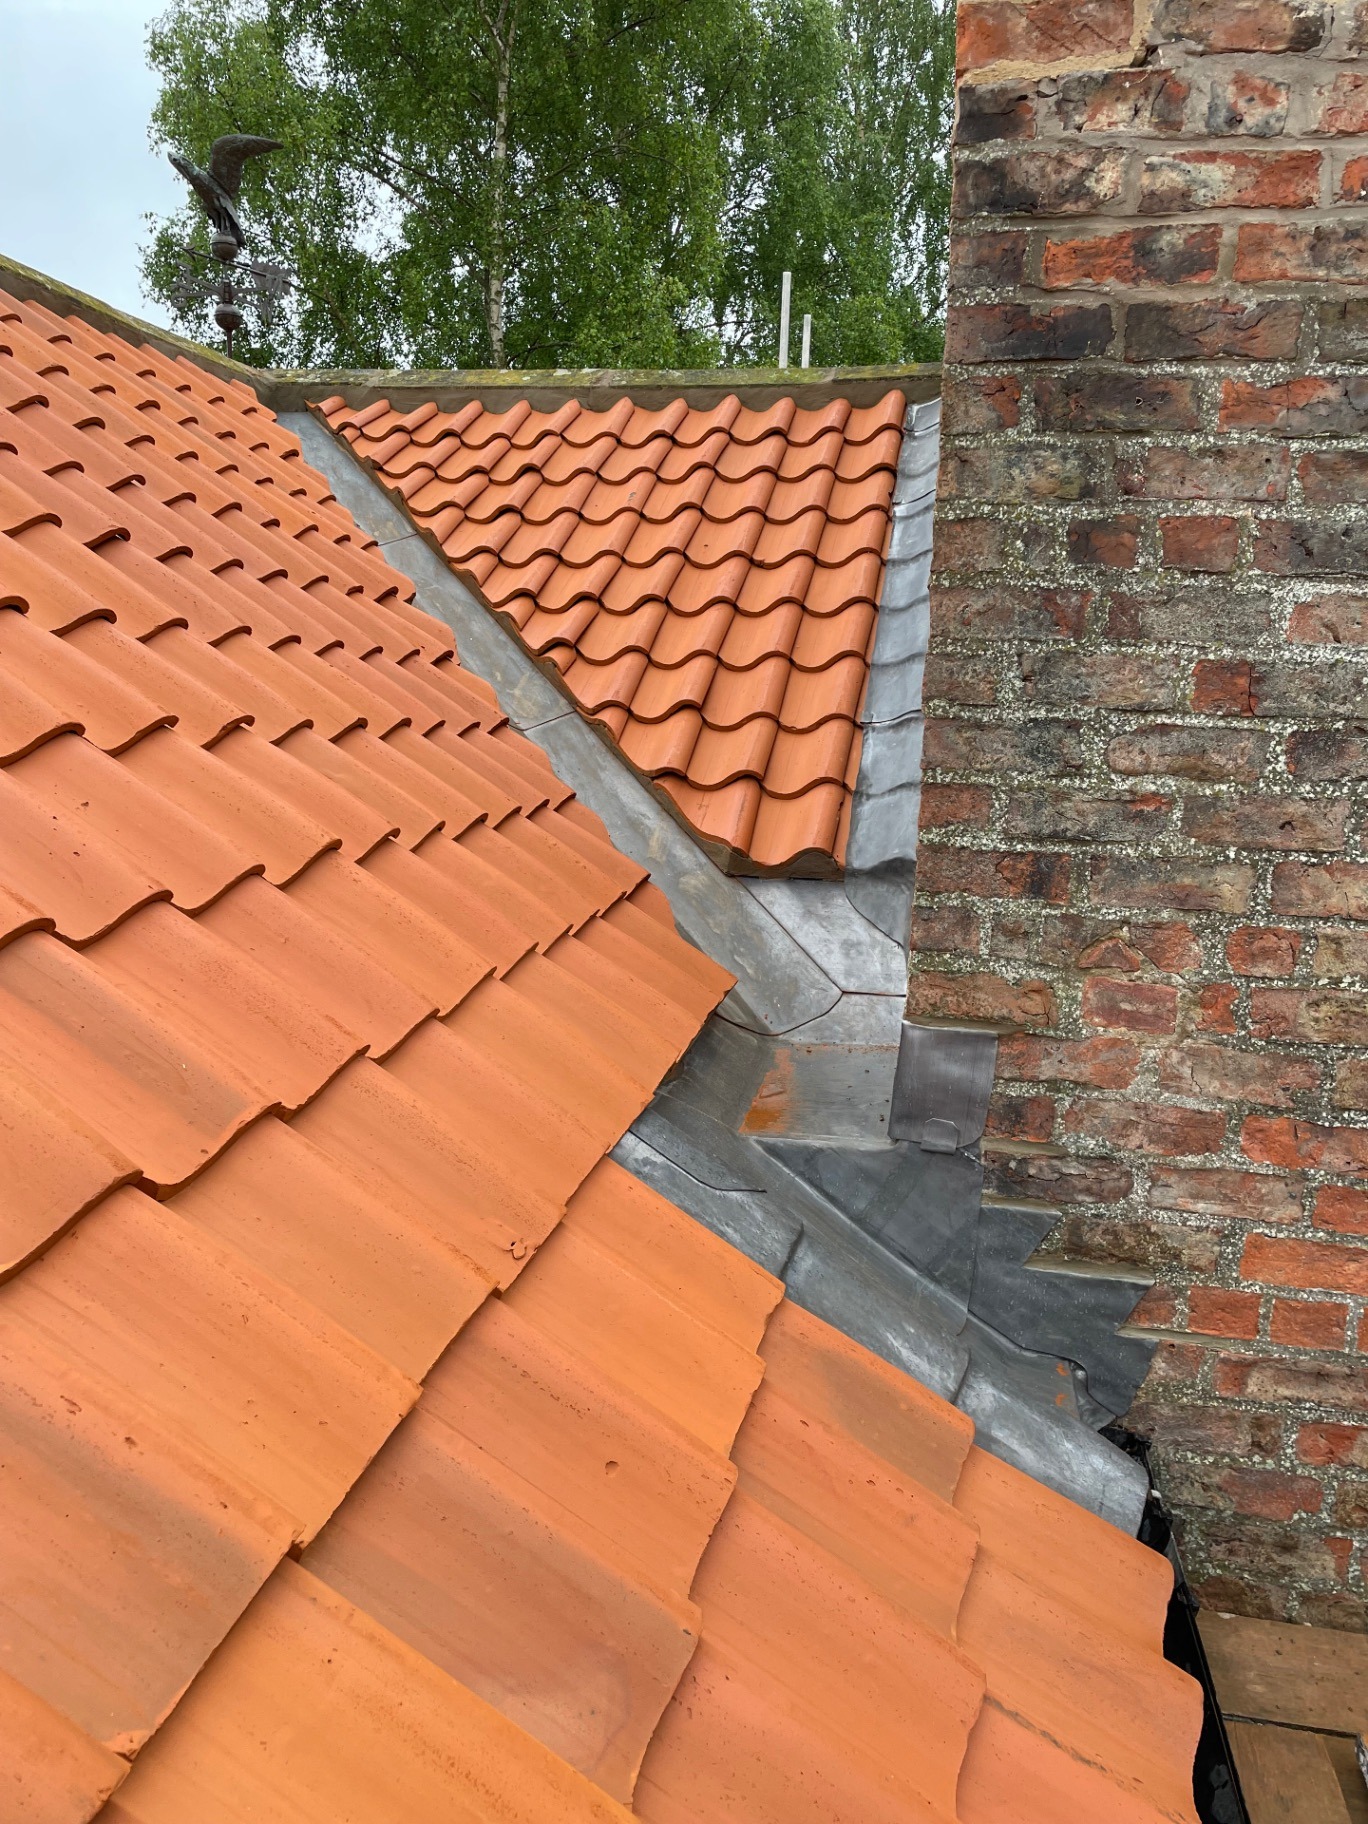
Pantiles will have bedded and pointed valley margins.
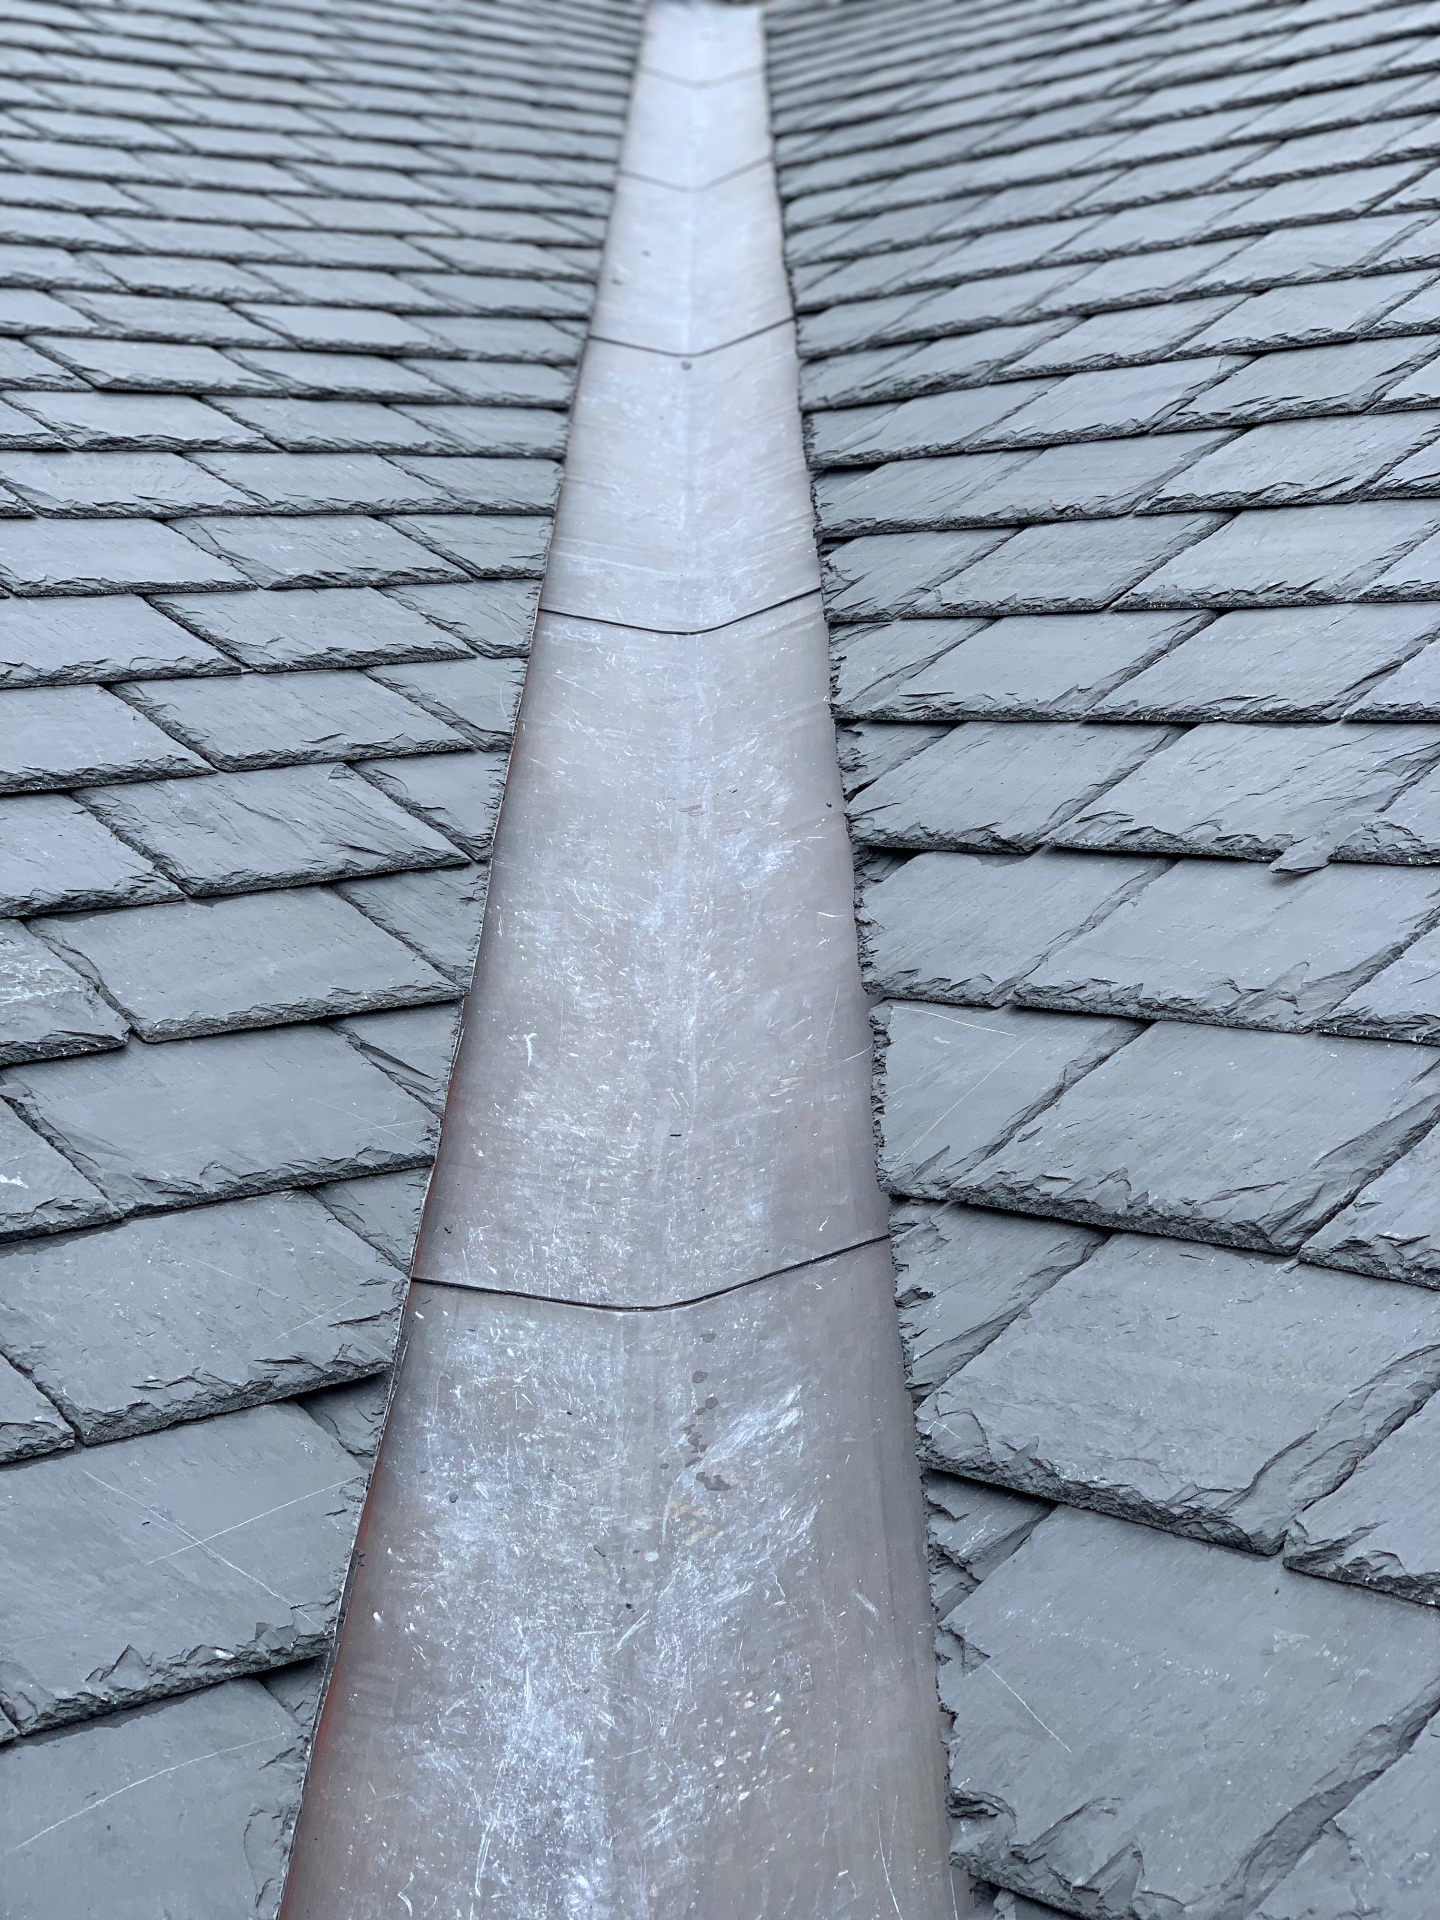
A new code 5 lead valley lining with Welsh slates.
When considering a lead valley repair, the project should be considered in context.
Importantly, the cost benefit should be examined based upon how much other work there is to do around the valley in order to facilitate repair.
In some instances, a lead valley that needs a repair, could be patched or lead welded to offer a temporary fix without disturbing the cut slates or tiles to the margins.
However, if the lead lining requires replacement, then costs should be carefully devised to ensure the solution provides sufficient value over time to make it viable.
When considering whether to repair or replace a valley, it is important to consult an expert and listen to what they have to say or you may waste time and money.
Replacing a lead valley can be time consuming, owing to the amount of work to the interfaces using either slates or tiles.
Further, if there has been water ingress through the lead over time, the substrate supporting the lead, may have perished and also require repair or replacement.
It is difficult to consider this until the lead lining has been removed, but it is prudent to consider a contingency sum for external timber work when looking at a lead valley repair.
Whether replacing or repairing a lead valley, the costs involved may be as follows:
Further, a roofing contractor must make provision for overheads and profit.
Although the material element may be inexpensive, labour costs may make the process of carrying out a repair or valley lining replacement costly. These costs should be weighed up against the repair, which is likely only to provide an isolated fix, and not address any wider problems.
A roofing contractor will consider carefully the materials needed to replace a lead valley lining.
If replacing the lead, commonly used sizes are 450mm wide lead or 600mm wide lead, usually in code 5.
Further, replacement slates or tiles to match the existing covering will also be needed.
For example, if you have a roof covering with Welsh slates, it is important to source replacements that are or the same dimension as the existing, The slates will need to be cut and extra wide slates may also be needed.
If using pantiles or concrete roof tiles, then replacement tiles will be needed, along with a fibre cement strip, to provide an inert separation between the lead and the mortar, sand and cement to mix mortar. PVA and mortar plasticiser are also advantageous.
Further, the lead valley will need to be fixed, this can be done using copper leadwork nails, and the roof materials will also require fixing using appropriate nails.
Importantly, fixings used should comply with BS5534 and be fit for purpose.
A defective valley lining will usually cause water ingress towards the base of the valley, i.e the lowest point.
Water stains may be seen inside the property but also on the external walls.
As water penetrates the defective valley lining, it will track down between the substrate and the lead lining.
Common signs are:
A leaking valley will usually cause obvious damage to a property, and if left unresolved can cause wider issues with decay beneath the surface of the lead facilitating a need for a more comprehensive repair. .
book a surveyIf GNR do not cover your area, or you would like to try and address the repair or replacement yourself, then you can source the materials here:
The above list is not exhaustive, and you Weill need to consider the valley repair in context, but it is a good place to begin. Alternatively, you could request a quotation from us.
Get a quote for a valley repair